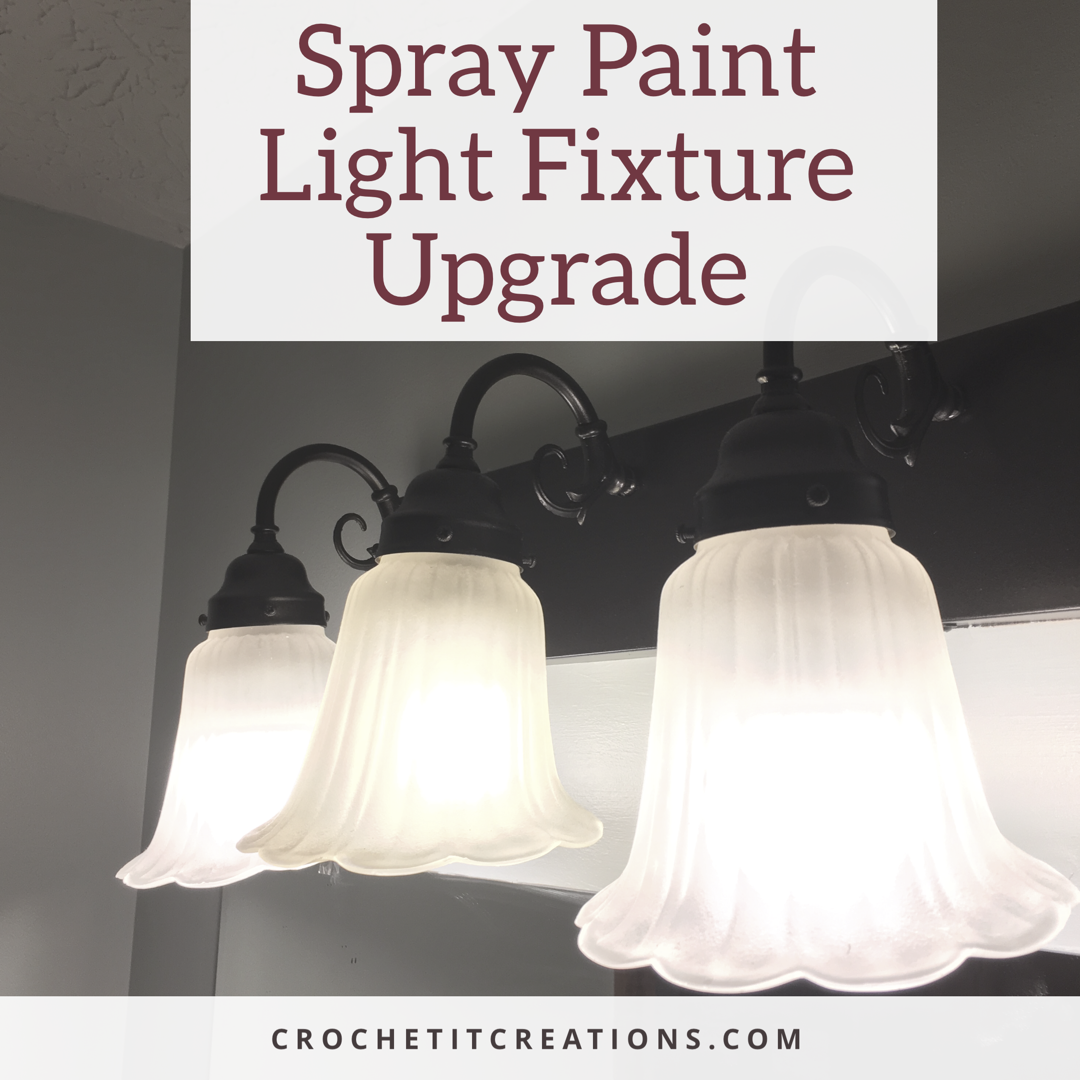
Hello all! This page is mostly a crochet blog, however I love all things DIY. So, I wanted to share my low cost spray paint bathroom light fixture upgrade.
Our house was built in 1993 and is covered in gold, oak, and beige…eek! When we bought this house 2 years ago I saw potential…a lot of work, but potential. With a busy life and a budget we’re doing a little at a time. Last week I decided it was time to work on the bathroom. Starting with spray painting the light fixture and then painting the walls.
I used this $5.99 spray paint from Walmart
 To take the light fixture from outdated gold
 To beautiful oil rubbed bronze
 With flash on top and without on bottom

 I was amazed by the difference and simplicity of this project!
Here’s how I did it…..
Materials needed:
Spray paint – rustoleum metallic works great!
Newspaper
Painters tape
Drop cloth to cover the surfaces
Prepping to paint the light fixture
Remove light bulbs, screws and glass coverings. I used a standing lamp for light since this was in my bathroom and there are no windows.
Use newspaper and painters tape to tape all around the light fixture. You want to cover a good amount of the wall and maybe ceiling with the paper since you will be spraying at all different angles. You can also cut strips of newspaper to cover the light bulb holders. Mine looked like this…

However I learned that I did not cover enough surface and got the spray pain on the walls. This was no big deal because I was painting after anyways. Also make sure to use painters tape along the edges of the fixture against the wall to prevent spray paint from getting through.
Next, use a drop cloth to cover all surfaces below. This is very important and I did not do this at first. I quickly learned that spray paint dust was getting everywhere and I had to do a lot of cleaning.
Now the magic happens…
Now you should be ready for your first coat of spray paint. Start spraying away making sure you are getting all angles. Be sure to not use too much in one area because you could have dripping or running paint.
 I did not cover the light bulb holders on the inside of the fixture. I didn’t think it was that big of a deal if they got painted.
Let this coat thoroughly dry then add one more coat, assuring that every angle is covered.
Let dry, replace the bulbs and the glass coverings……and there you have it, a brand new looking light for $6!!!
 I don’t even think I used half of a can so I’ll be doing our master bathrooms light also! I painted our bathroom walls Sea Salt by Sherwin Williams then also sprayed the light switch covers to match!!
 Next I will be attempting to add a wooden frame around this plain mirror!

Hi Jessica, Did you paint your faucet and handles and sink drain as well ?
No I did not. I would not recommend painting any high touch areas.