Transform your old worn out wooden deck with Cabot DeckCorrect Paint.
We moved in to our house 5 years ago and in that time our deck had really started to wear. All of the previous paint had chipped off the flood of the deck. Water was no longer repelling off the wood, it was soaking in.
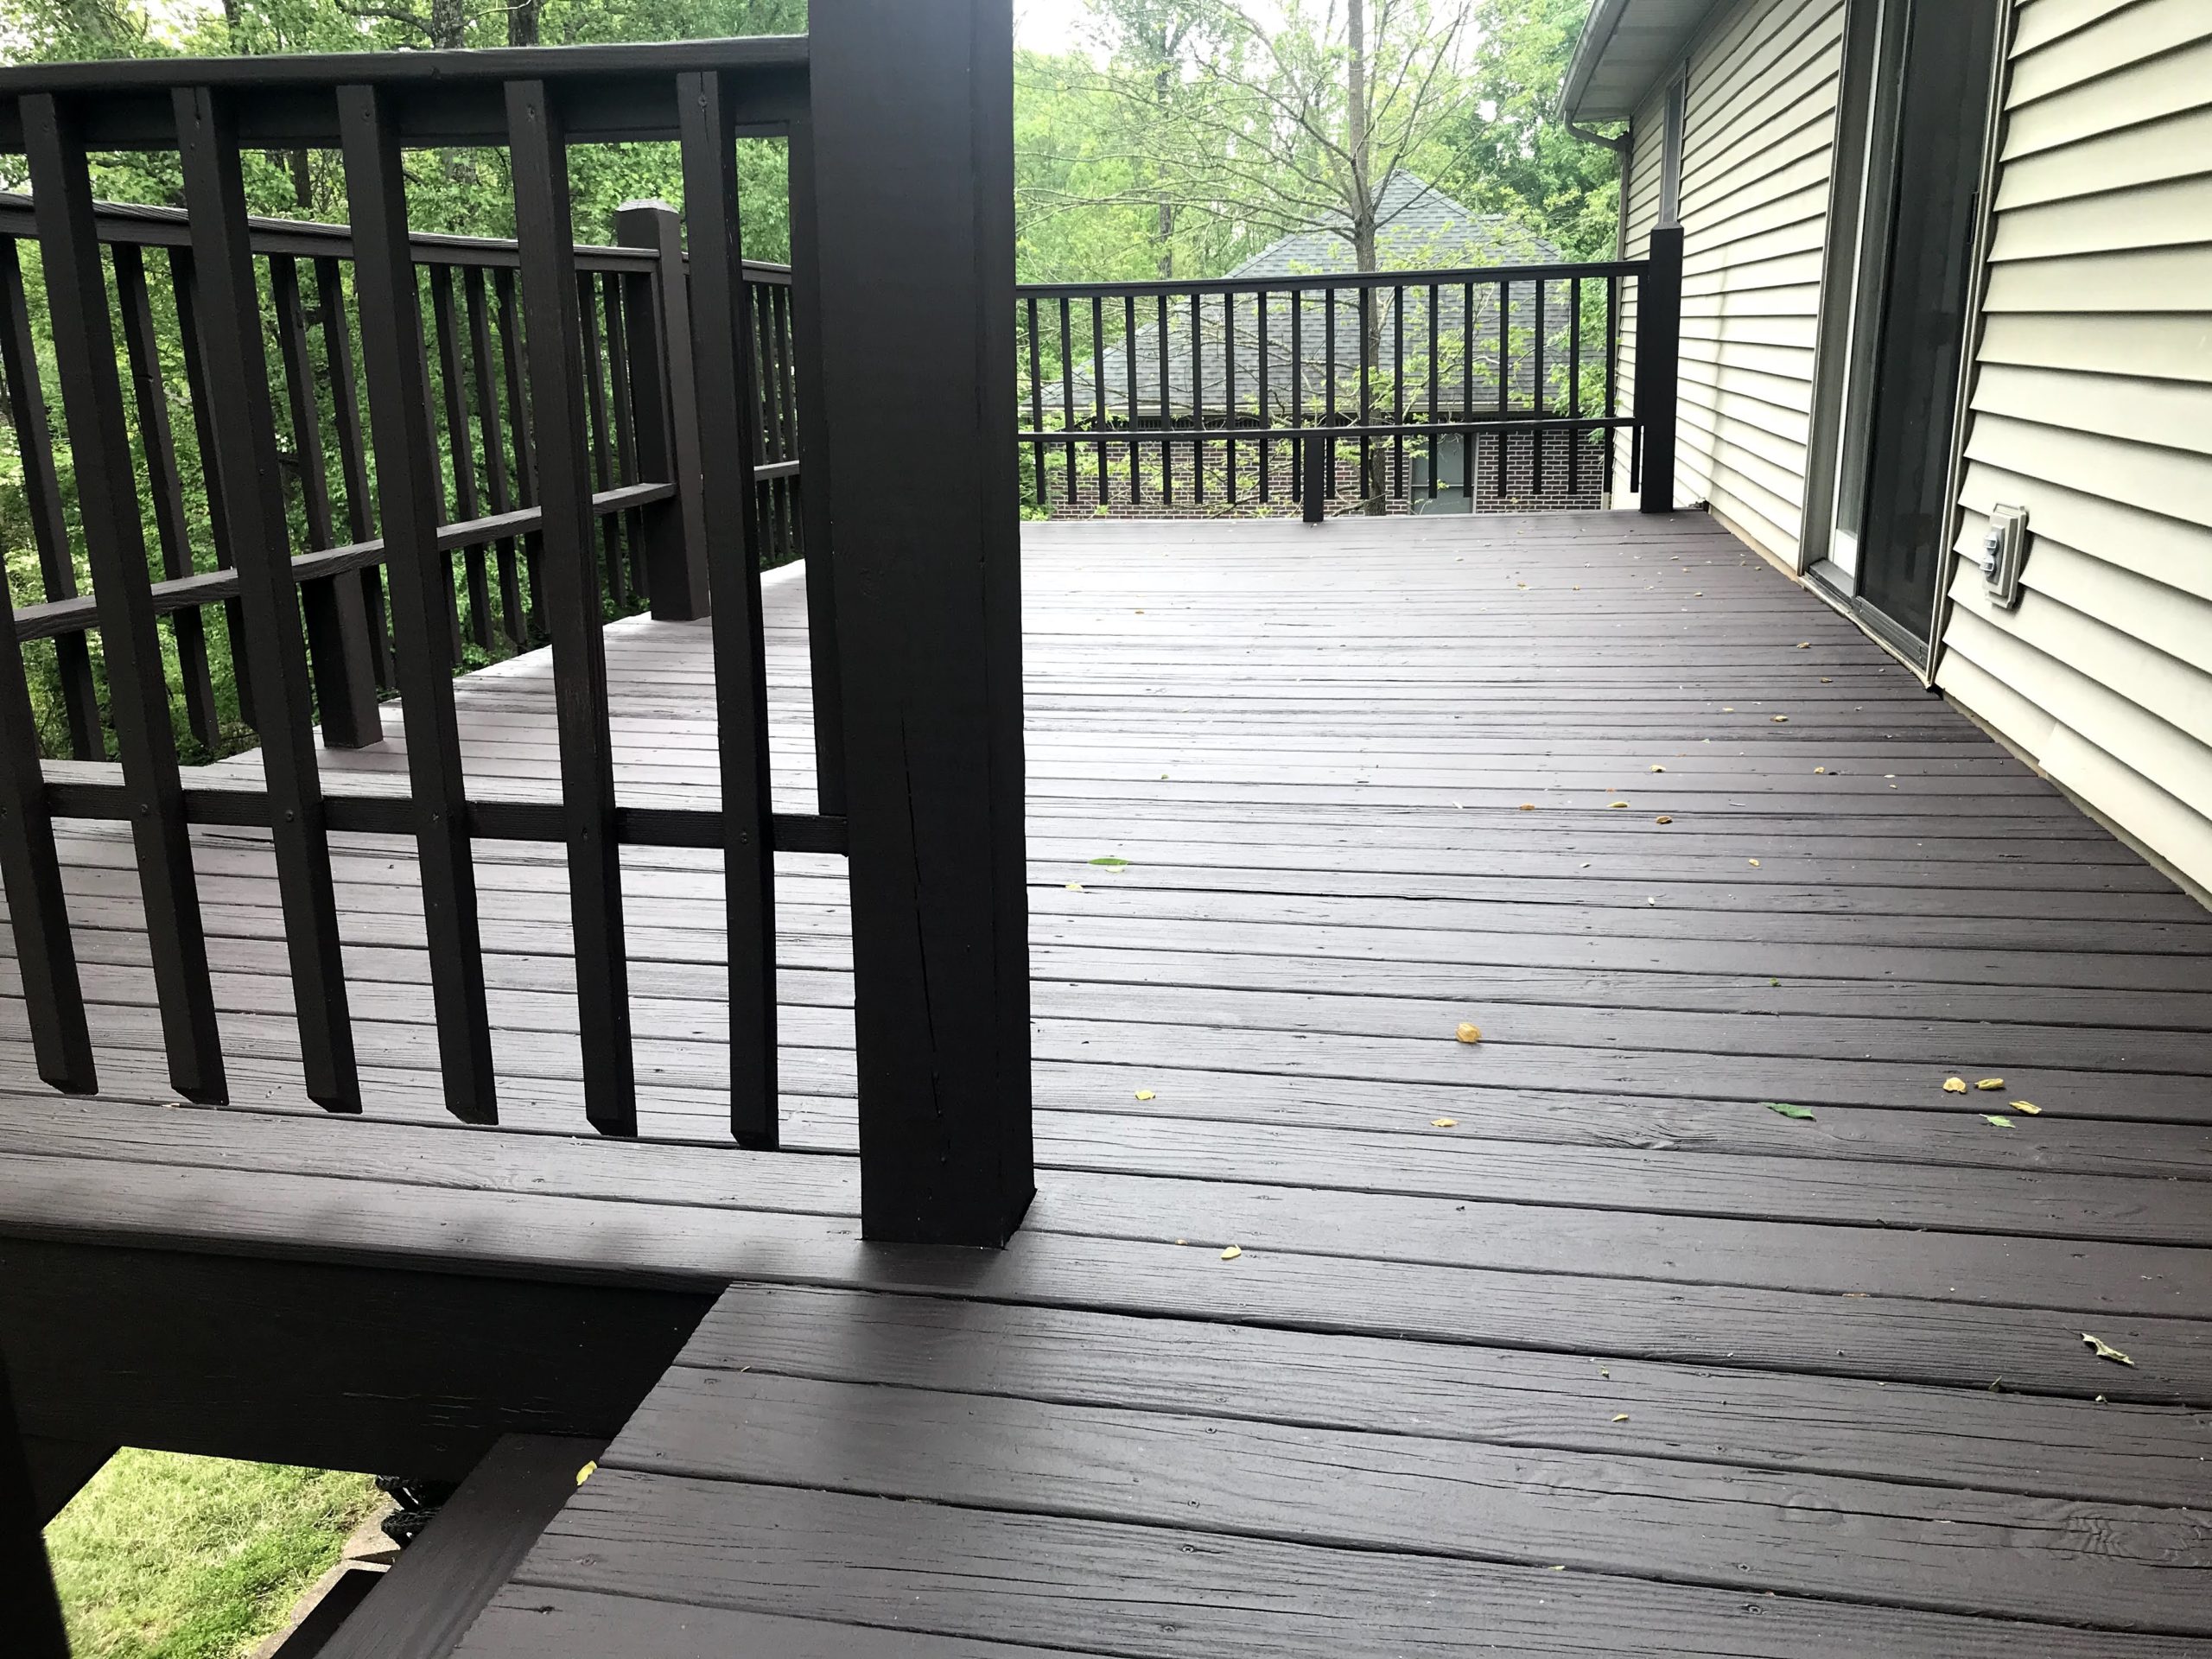
Water and the elements can be very damaging to a deck if you do not have the proper barrier to protect it. Although this is a time consuming project, but as you can see in the photo below it was necessary for our deck to last.
About the Paint
There are many Deck Paints on the market, but someone recommended Cabot DeckCorrect to us. Photos on the internet of those who had used it had me convinced. This paint is VERY thick and coverage is amazing. It can fill in cracks up to 1/4″ and locks down splinters. It has a dirt resistant, non-skid finish.
Our deck is about 24’x12′ with 2 sets of stairs that has railing on each side. We have a walk out basement and long post that come down from the deck. So, we have a lot to cover. We used about 7 gallons of paint total.

Materials Needed:
- Pressure Washer
- Deck Cleaner Solution
- Long Handle Scrub Brush
- 3/8″ Paint Roller Pad
- 9″ Paint Roller Frame
- Cabot DeckCorrect Tintable Resurfacer
- Paint Brush
- Paint Tray
- Optional: Killz Exterior Paint

Step 1: Pressure Wash the Deck
We started off with cleaning the deck. A pressure washer is a must have for this step. Pressure washing will get any loose paint and dirt off. Be sure to pressure wash the entire deck including the rails, stairs, post, and base.
Step 2: Clean with Deck Wash
After pressure washing, clean the deck with a deck cleaning solution. You can find this at your local Lowes or Home Depot. Any type of deck wash should do. The goal is to get all of the dirt and loose paint/stain off. Spray the deck and scrub it with a long handled scrub brush.

Step 3: Rinse with Water
Rinse the deck wash off with water. Allow the wood to completely dry before moving on to painting. I suggest to analyze your deck before painting. You may have some areas that are more worn than others. You will also want to take this time to correct any loose boards.
Step 4: Apply Primer, if Necessary
Our rails still had previous paint on them that was repelling water. It was recommended to us to use Killz Exterior paint on the rails. This will keep us from having to sand the old paint off and will give the new paint a good primer base. Areas with exposed wood will not need priming. I’m not sure this step is completely necessary since Cabot DeckCorrect is so thick and has great coverage.

Step 5: Apply Paint
After your deck is prepped, you are ready to apply the Cabot DeckCorrect. I chose this paint because of it’s reviews and amazing coverage. It recommends to apply the paint with a 3/8″ paint roller. We did end up using a paint roller that was recommended for deck and wood. We painted the rails first, then the floor. Allow the paint to dry for 24 hours between coats.


Step 6: Apply 2nd Coat
Apply the second coat of paint to the entire deck. Then enjoy!


Now you get to decorate and enjoy your deck. We wanted an outdoor eating area, so we went with a 7 piece set from Lowes. The umbrella came from Sams Club and the rug is from Lowes.

Looking for more DIY project ideas? Check out How to Paint your Kitchen Cabinets and Garage Door.