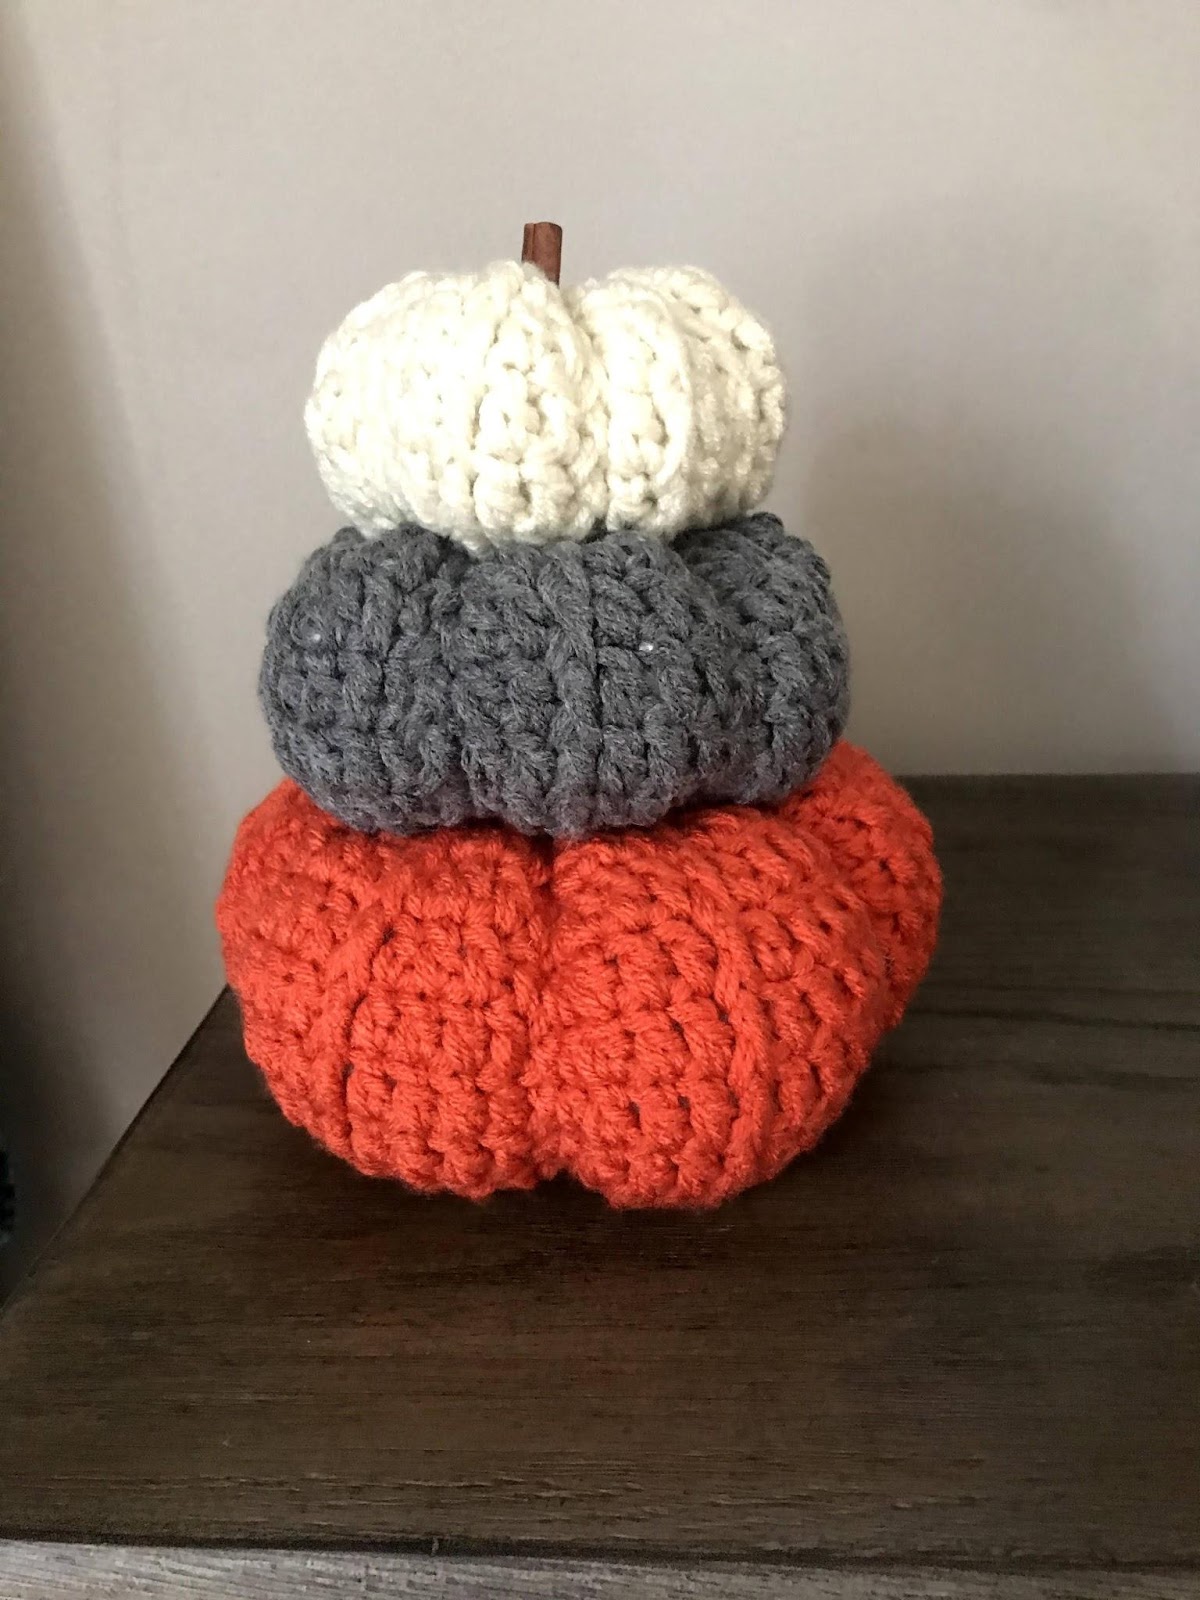
Crochet pumpkins are so fun to make this time of year! They look great as fall decor in your home. In this post you will find 3 different pumpkin sizes with the option to make a Stacked Pumpkin table center piece.
It is made with a K 6.5mm Crochet Hook and 2 strands of Worsted Weight yarn held together. Or you can use 1 strand of Bulky Weight yarn. I like the way the 2 strands, or bulky yarn, looks on the crochet pumpkins. You will also need some Poly-Fil to stuff your crochet pumpkin and cinnamon sticks to create a stem.

Materials Needed
- K 6.5mm Crochet Hook
- Worsted Weight Yarn with 2 Strands held together, or Bulky Yarn with 1 Strand
- Scissors
- Tapestry Needle
- Poly-Fil
- Cinnamon Stick
- Hot Glue Gun
- Optional to add Twine Bow
Stitches Used/Abbreviations (US Terms)
- SC – Single Crochet
- DC – Double Crochet
- Sl St – Slip Stitch
- Ch – Chain
- FPDC – Front Post Double Crochet
- SC2TOG – Single Crochet 2 Stitches Together
- Join – Sl St to top of 1st stitch
Pattern Notes
- Beginning chain DOES NOT count as a stitch
- Pumpkins are made in 3 sizes – small, medium, and large. Stack them together and secure by sewing.

Small Pumpkin
Rnd 1: In a Magic Ring, ch 2, DC 12 times, join. Pull tail to close ring. (12)
Rnd 2: Ch 2, [DC in 1 st, FPDC in same st] repeat around, join. (24)
Rnd 3: Ch 2, [DC in 2 sts, FPDC in same st] repeat around, join. (36)
Rnd 4 – 8: Ch 2, [DC in 2 sts, FPDC in next st] repeat around, join. (36)
Rnd 9: Ch 1, SC2TOG around, join. (18) Finish off leaving a long tail for closing the hole and creating the pumpkin shape.
Medium Pumpkin
Rnd 1: In a Magic Ring, ch 2, DC 12 times, join. Pull tail to close ring. (12)
Rnd 2: Ch 2, [DC in 1 st, FPDC in same st] repeat around, join. (24)
Rnd 3: Ch 2, [DC in 2 sts, FPDC in same st] repeat around, join. (36)
Rnd 4: Ch 2, [DC in 3 sts, FPDC in same st] repeat around, join (48)
Rnd 5 – 11: Ch 2, [DC in 3 sts, FPDC in next st] repeat around, join. (48)
Rnd 12: Ch 1, SC2TOG around, join. (24) Finish off leaving a long tail for closing the hole and creating the pumpkin shape.
Large Pumpkin
Rnd 1: In a Magic Ring, ch 2, DC 12 times, join. Pull tail to close ring. (12)
Rnd 2: Ch 2, [DC in 1 st, FPDC in same st] repeat around, join. (24)
Rnd 3: Ch 2, [DC in 2 sts, FPDC in same st] repeat around, join. (36)
Rnd 4: Ch 2, [DC in 3 sts, FPDC in same st] repeat around, join (48)
Rnd 5: Ch 2, [DC in 4 sts, FPDC in same st] repeat around, join. (60)
Rnd 6 – 14: Ch 2, [DC in 4 sts, FPDC in next st] repeat around, join. (60)
Rnd 15: Ch 1, SC2TOG around, join. (30) Finish off leaving a long tail for closing the hole and creating the pumpkin shape.
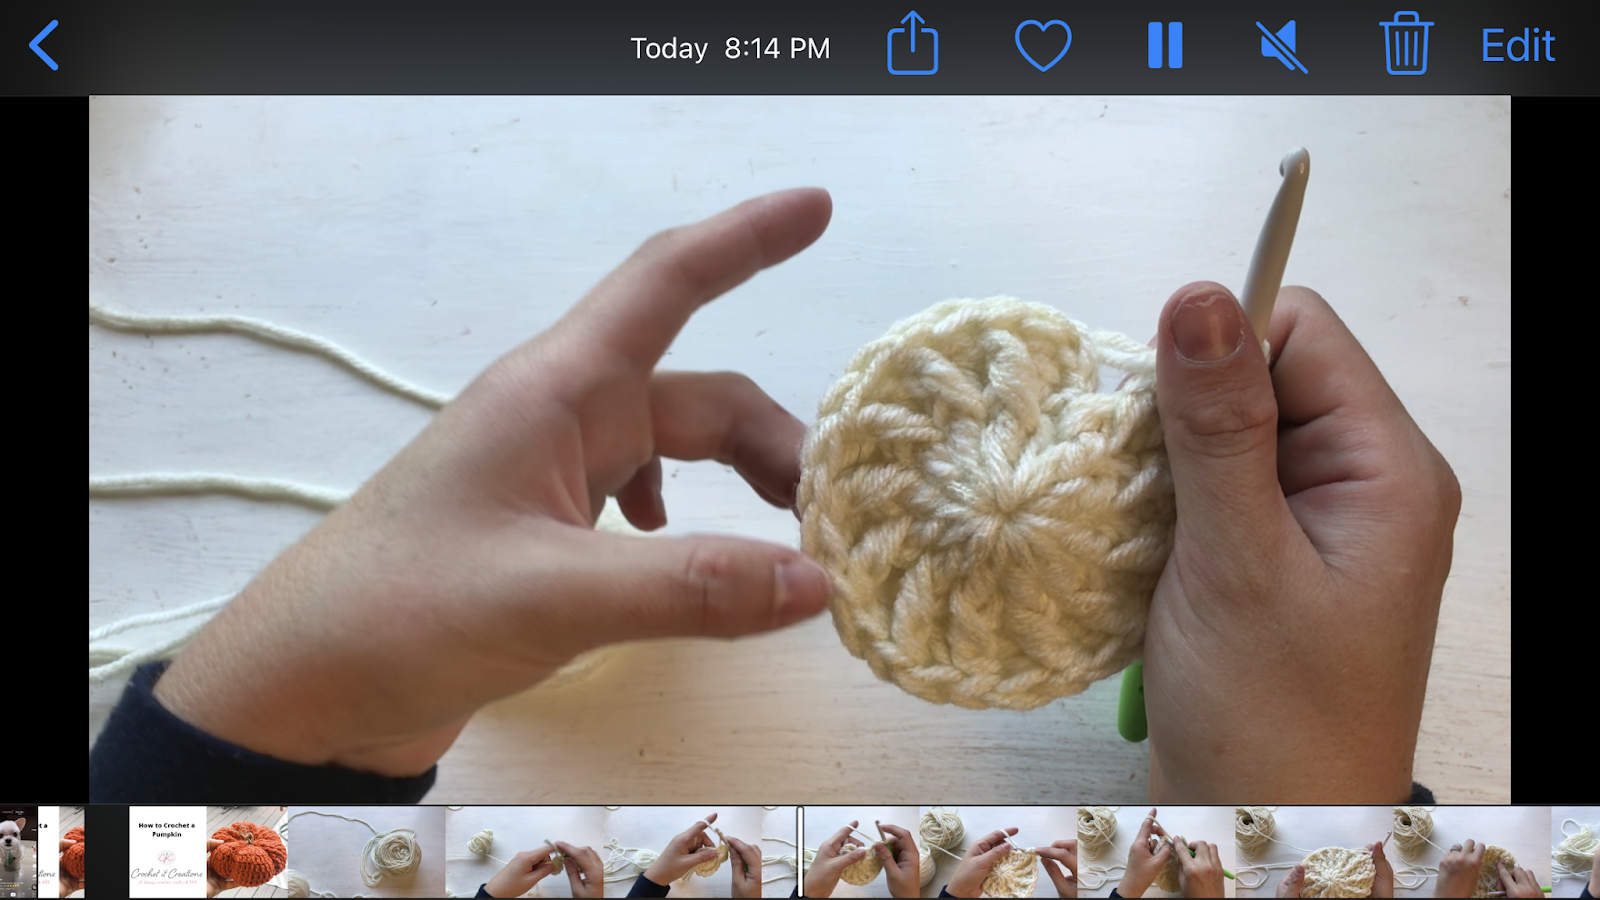
Photo 1: Increased Post Stitches
How to Shape the Crochet Pumpkin
Stuff the pumpkin with Poly-Fil. Using a tapestry needle, weave in and out around the edge of the last row. Pull tightly to close the circle, secure with a knot.
Use the remaining yarn and tapestry needle to create divots in the pumpkin. Stretch yarn from top to bottom across post stitches, pull tight and knot. Repeat this evenly around the pumpkin about 5 times.
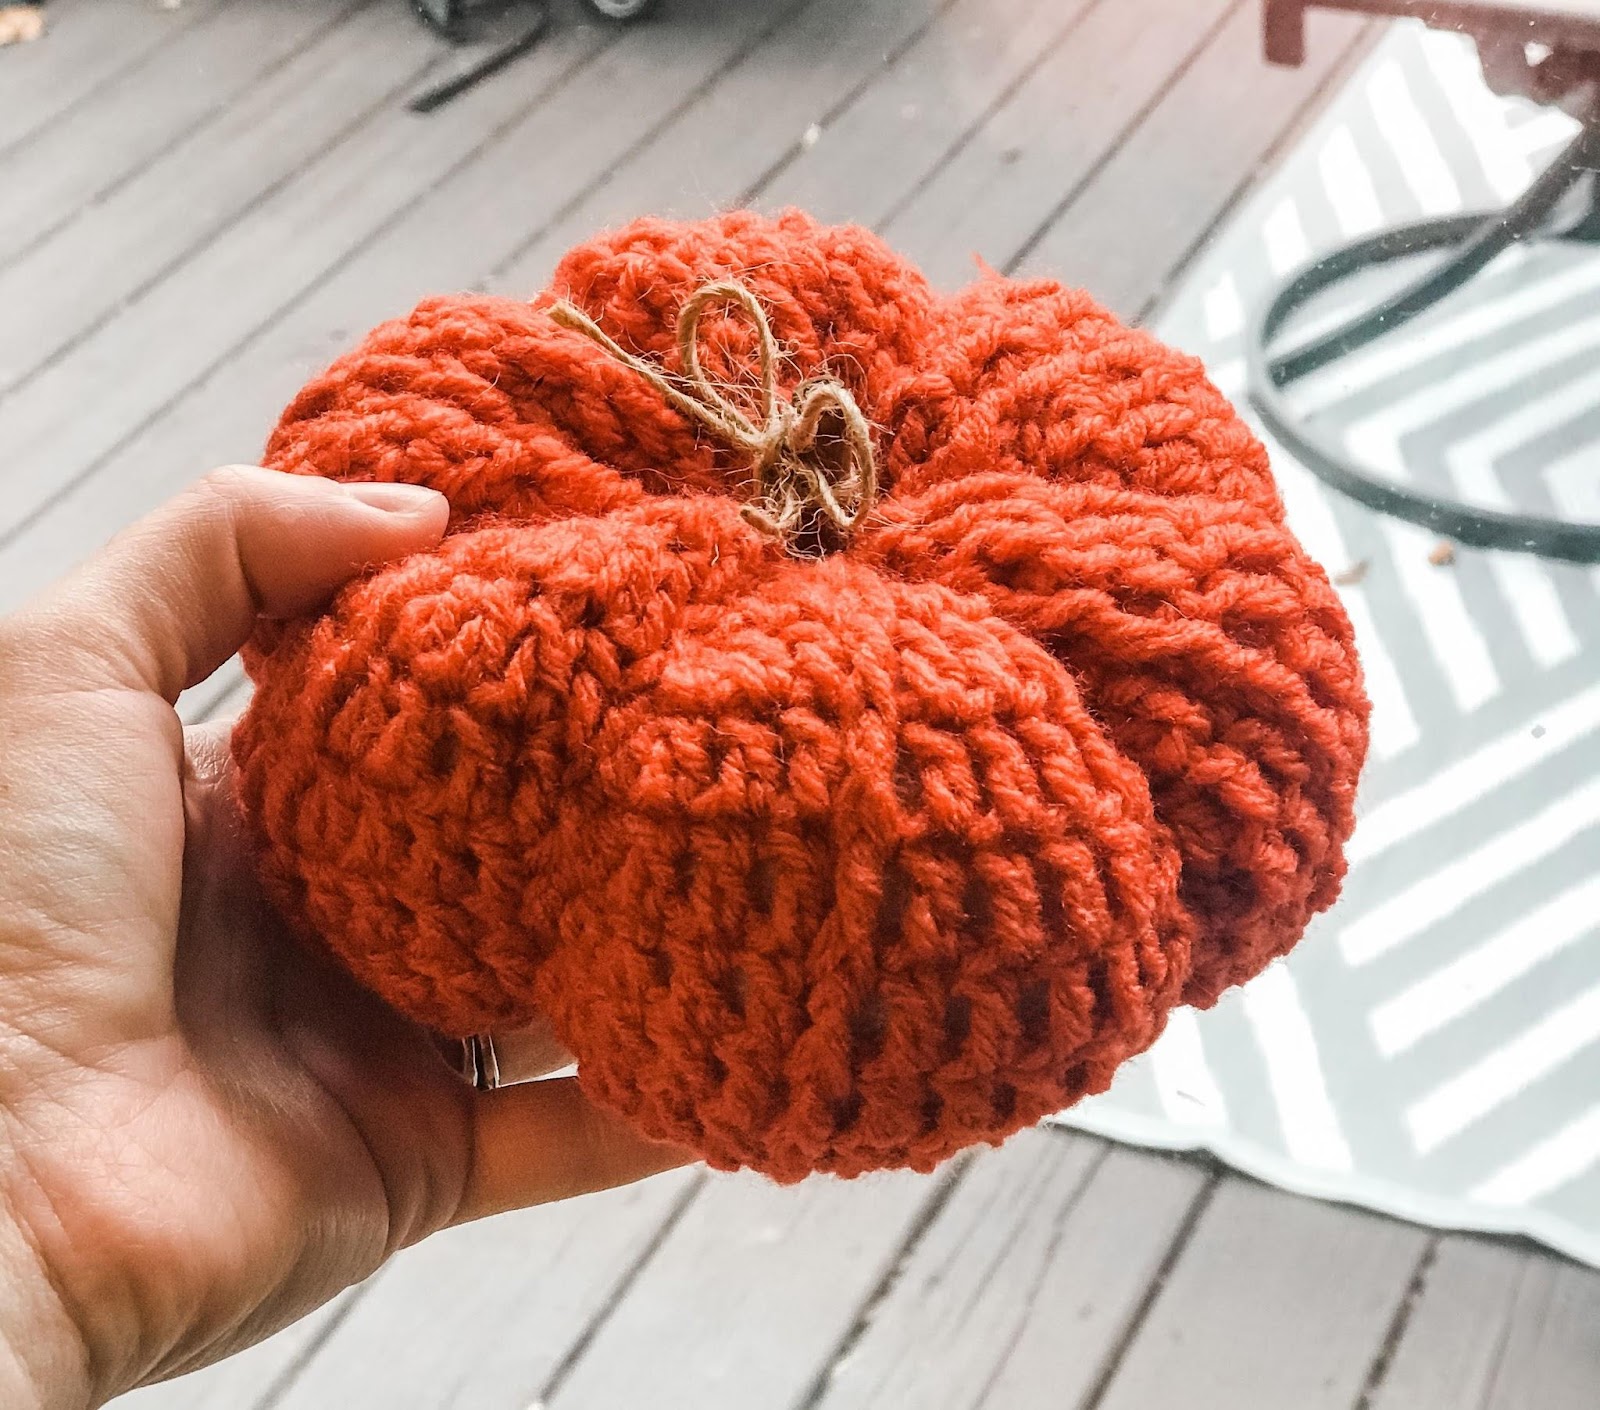
Stack pumpkins on top of each other and sew together. Hot glue a half piece of cinnamon stick to the center of the top pumpkin. Optional to glue on a twine bow or other decorations.
Photo 2: Finished Pumpkin with last row of decrease stitches

Photo 3: Stuff with Poly-Fily
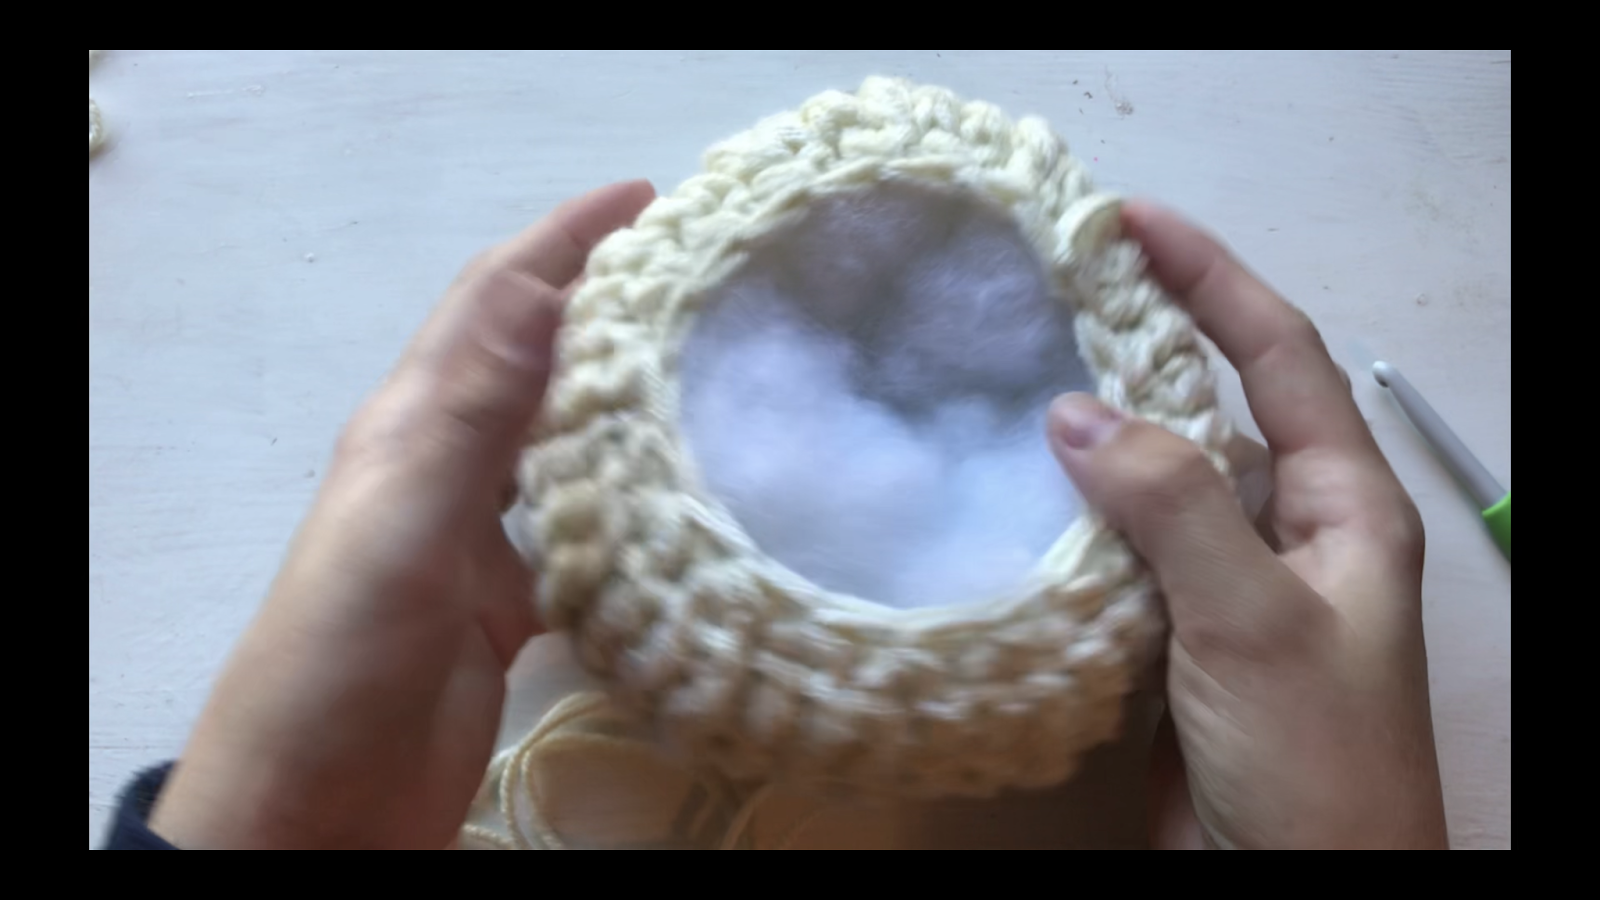
Photo 4: Pull circle tight to close
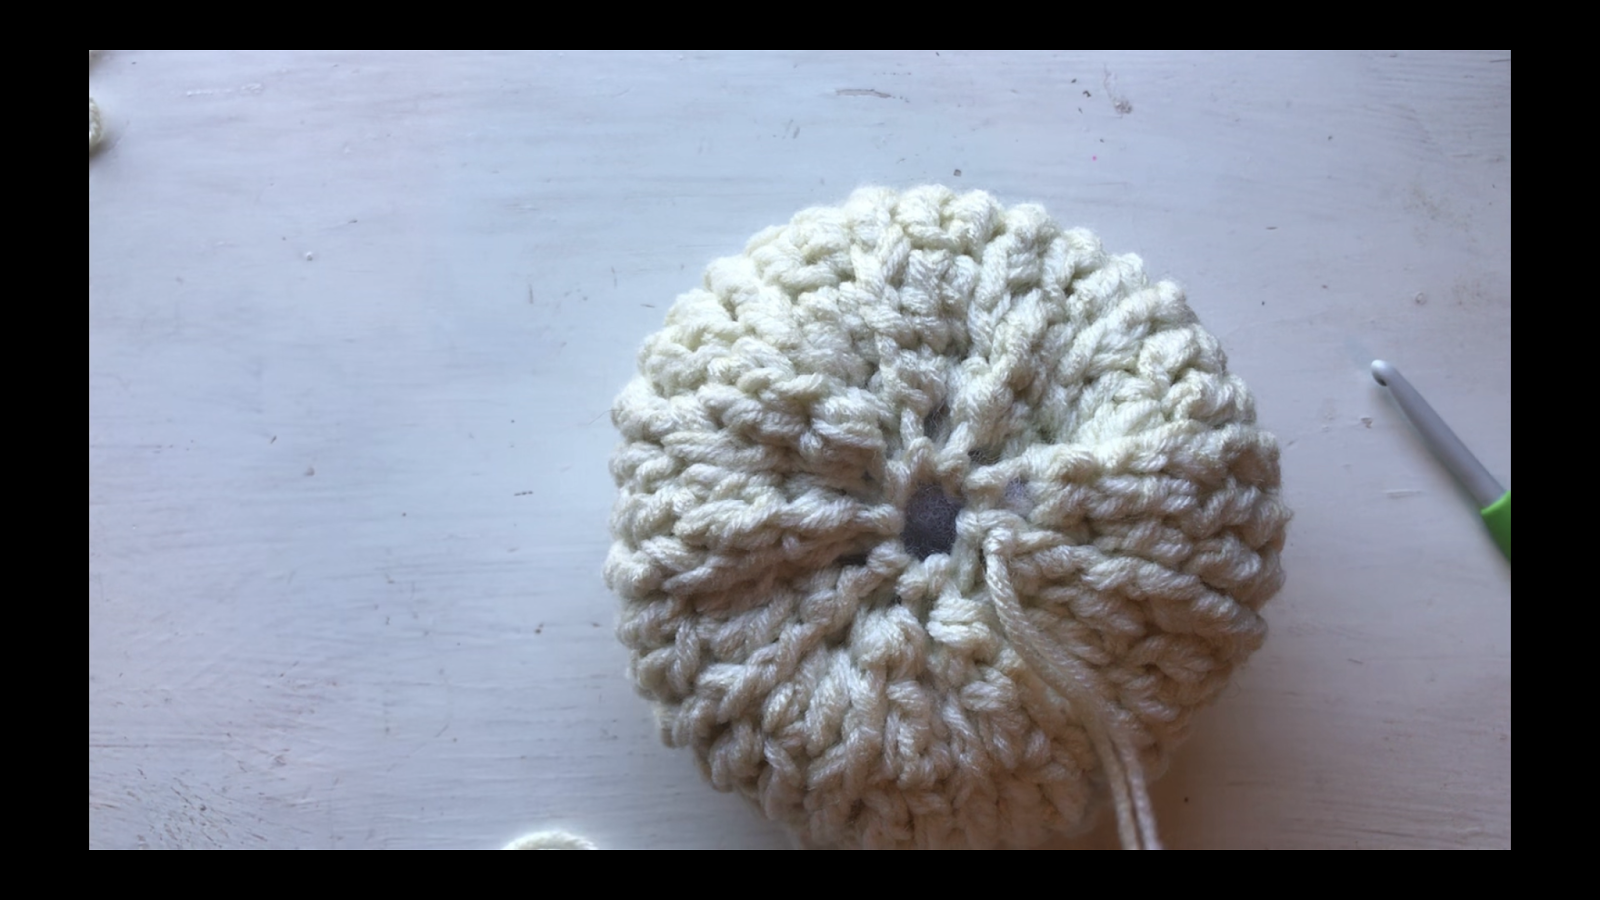
Photo 5: Pull yarn across post stitches to shape the pumpkin.
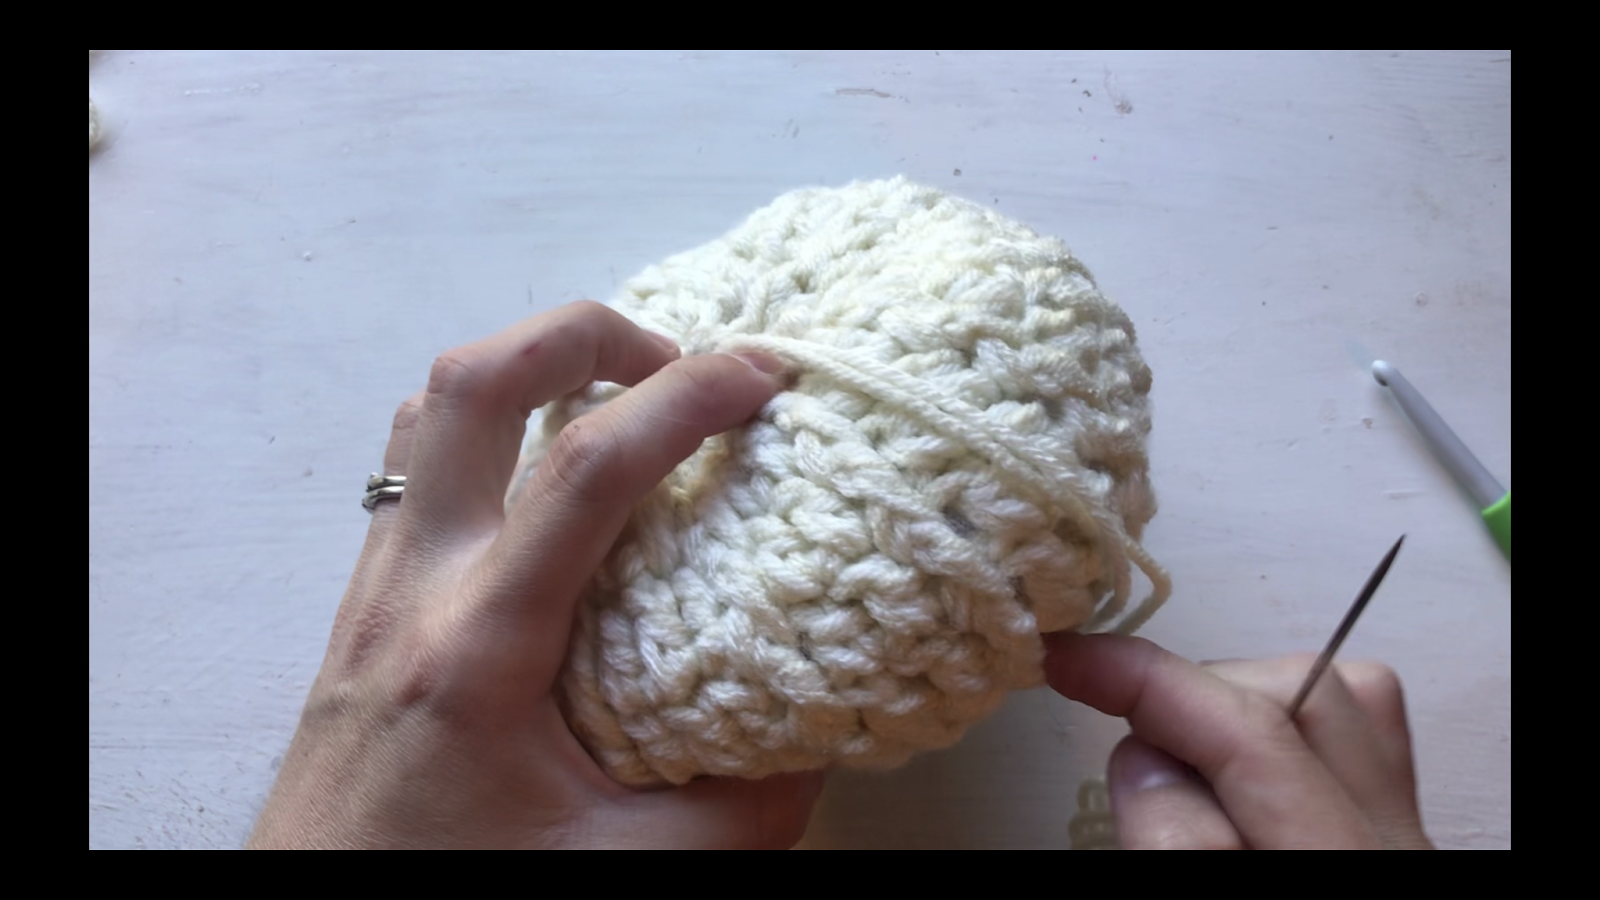
Photo 6: Be sure it is tight and across the post stitches to hide the yarn
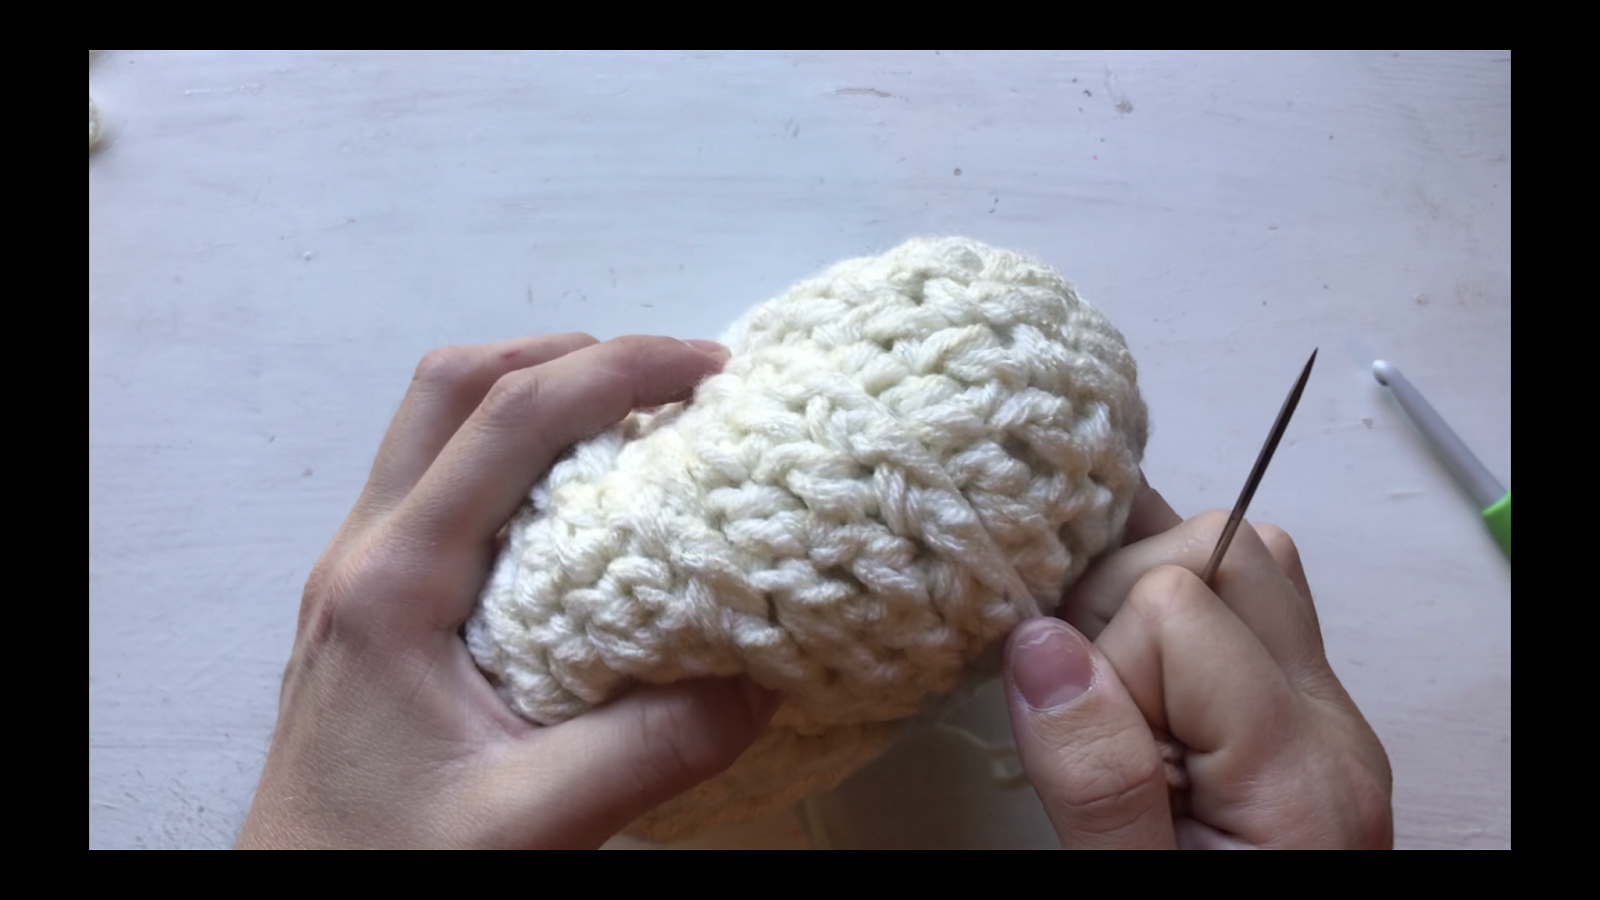
Photo 7: Continue around the pumpkin to create divots

Photo 8: Hot Glue a Cinnamon Stick to the Center, optional to attach a bow.
If you have any questions please email me at jessica@crochetitcreations.com. I would love to see photos of your work. Follow Crochet It Creations on all of your favorite social media sites. Join us in our crochet friends Facebook group!
You may sell your items made from my patterns. You may not distribute any of this pattern in any way. It is for your use only. Please do not use my photos as your own to sell your work. A link back to my site or social media tag is much appreciated when selling your items from my patterns. I hope you enjoy!


How can I print this pattern?
I just updated with a link to the PDF 😊
How do I make this taller?
I love the stack but also want a tall skinny pumpkin!
good question! I like tall skinny pumpkins too but haven’t mastered them in crochet.