Make a basic Preschool Crochet Cardigan with this FREE Crochet Pattern by Crochet It Creations. Keep reading for the full written instructions.
Prefer an ad-free PDF version to print? Click HERE to get the pattern from Ravelry
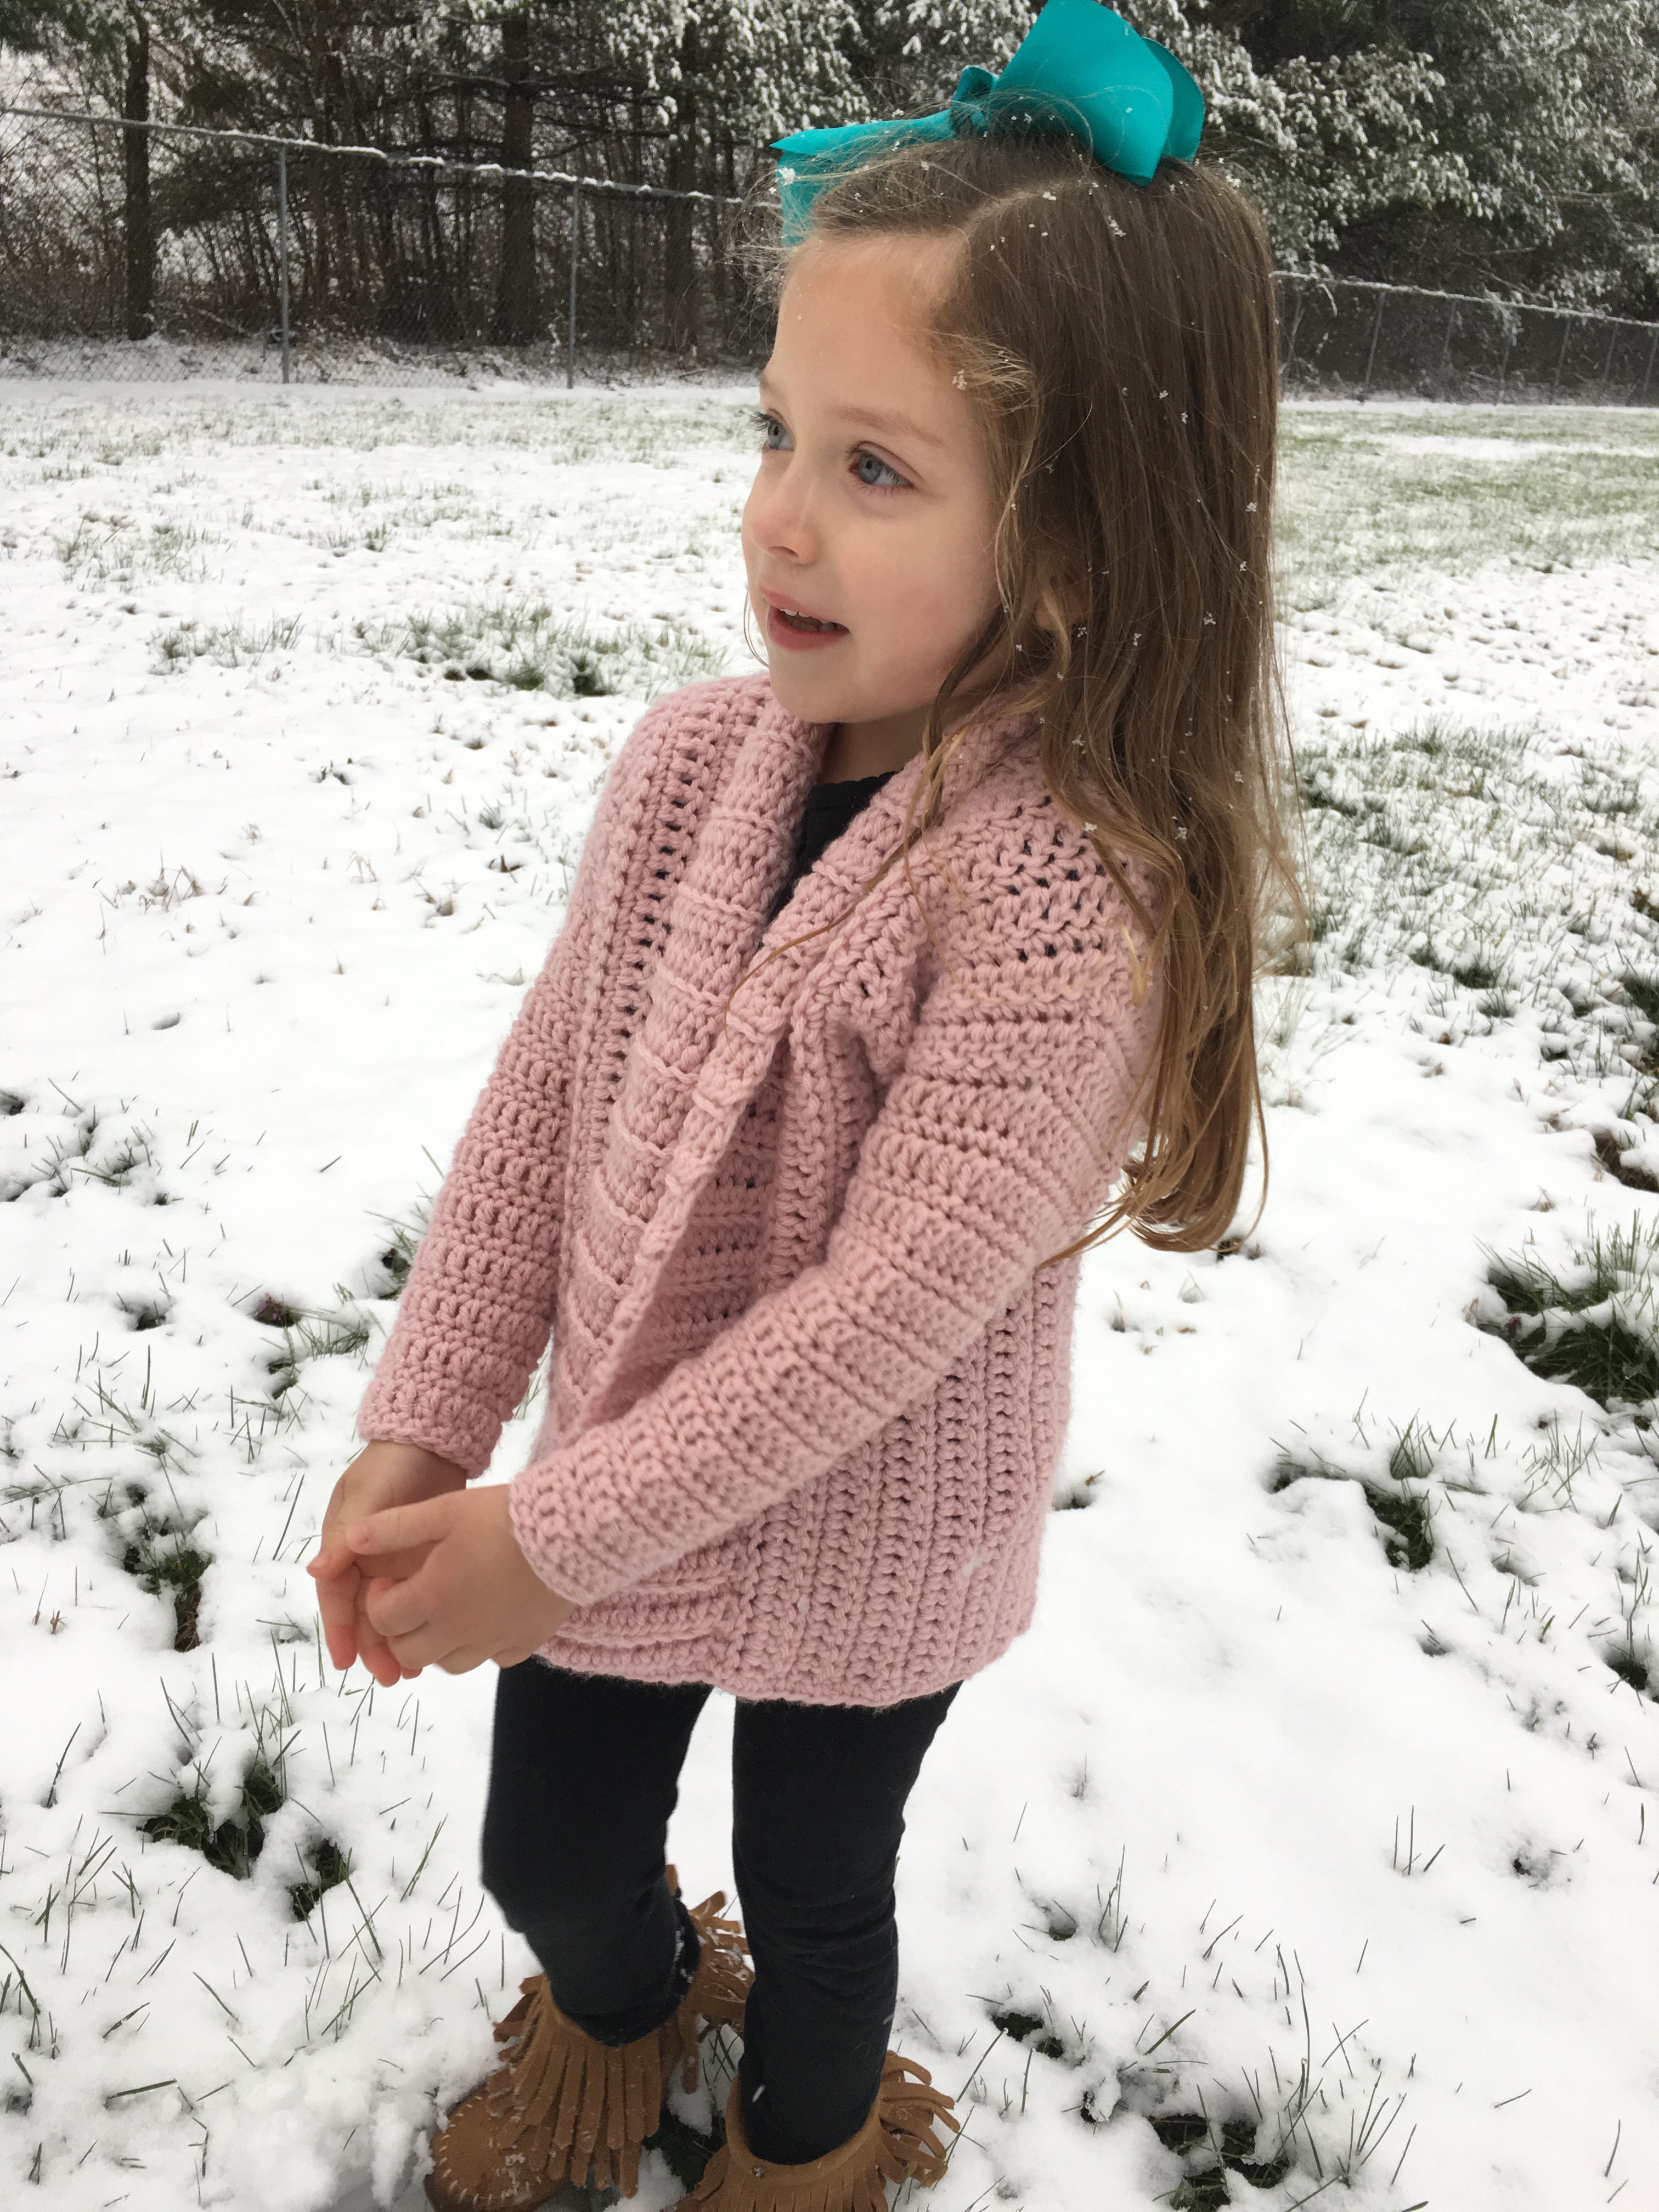
Welcome to the Preschool 3/5 Size of the Cameo Crochet Cardigan Pattern series!! This is the 6th pattern of the 8 pattern series that will include size baby 6 months to Adult 4XL!!
I hope you are enjoying this pattern as much as I have designing it! I love this crochet cardigan because it is simple and requires no sewing! It works up fairly quick and using basic crochet stitches.

If crocheting clothing intimidates you…check out the video tutorial post here. In the video I will show you start to finish of working the body. Part 2 will include the sleeves. You will see how to make the joins for the shoulders and border seams.
Crochet Cardigan Pattern is worked in vertical continuous rows with no sewing. You will start at the front panel, work the back panel and join to the front panel for the shoulders, then continue on to the other front panel.
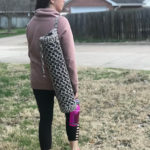
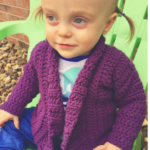
Other crochet cardigan sizes available…
- Find the Adult XS/S Women’s 0-6 Size here
- Find the Adult Medium/Large Women’s 8-12 Size here
- Find the Adult XL/2XL Women’s 14-20 Size here
- Purchase the Ad-Free, Printable PDF of the Adult sizes together from Ravelry here
- Find the Child Size Large 10/12 here
- Find the Child Small 6/8 size here
- Find the Toddler Size here
- Find the Baby Size here
- Also, find the full video tutorial of part 1 and part 2

- Get the PDF version to print from Ravelry HERE
- Get the PDF version from Etsy HERE
- Pin the Preschool Crochet Cardigan Pattern for later HERE
- See the full video tutorial on YouTube HERE
Materials Needed
- K 6.5mm Crochet Hook, or hook to obtain gauge
- Worsted Weight #4 yarn, 500 yards for preschool crochet cardigan
- Scissors
- Tapestry/Finishing Needle
- Optional: Stitch Markers
Stitches Used
- Dc – double crochet
- Hdc – half double crochet
- Sc – single crochetS
- Sl St – slip stitch
- BLO – back loop only
- Join – slip stitch to first st
- Sc2tog – decrease sc – insert hook into st, y/o pull up a loop, insert hook into next st, y/o pull up a loop, y/o and pull through both loops on hook
- Dc2tog – decrease dc – y/o insert hook into st, y/o pull up a loop, y/o pull through 2 loops, y/o insert hook into next st, y/o pull up a loop, y/o pull through 2 loops, y/o pull through 3 remaining loops on hook.
- Foundation sc, see here how to make foundation rows
Gauge
- 4” x 4” square = 9 rows of the pattern (5dc rows, 4sc rows) x 12 stitches. I HIGHLY recommend doing a gauge swatch and matching accordingly.
Pattern Notes & Tips
- Pattern is written in U.S. Crochet Terms
- Beginning chain(s) of the row DOES NOT count as a stitch.
- Fit will also depend on yarn used. A less dense yarn (Hobby Lobby’s I Love This Yarn, which is in the photo above of Ivory Tweed) will stretch more. A more dense yarn (Red Heart With Love, the pink Cameo color) will not stretch as much. My gauge was the same for both these yarns.
- Pattern is worked in vertical continuous rows of the front right panel, back panel, and left front panel. No finishing off on these rows.
- I am a fan of no sew patterns! This pattern will be joining the shoulders to the front or back panels and the border to close as you work them.
- On the rows that join at the shoulders or border turn the work left OVER right. This will keep your next stitch from being twisted. Also, re-adjust the tension on your hook after turning. If you find it hard to see where to place your next join, you could use stitch markers before turning.
- Count your stitches on EACH row! This is one of the most important parts of the pattern. The stitch count is in parentheses at the end of each row.
- Check your gauge BEFORE starting the Cameo Cardigan. We all hate gauge swatches, but it’s important when making clothing. If you are getting more stitches/rows per 4” than the gauge, go up a hook size. If you are not getting enough stitches/rows, then go down a hook size.
- When joining on the sleeve rows, pull your slip stitches tight. This will make the joins less visible. Actually, as a general rule for crocheting, always pull your slip stitches tight. You’ll be amazed at what difference this will make in your work.
- Work the first st in the same st as the join and the ch-1/ch-2, since the chains do not count as a stitch. This will keep your seam straight on the sleeves.
- To secure tails when changing skeins or colors, crochet over the tail then leave a few inches out. Go back and weave in the ends going the opposite direction. This will keep the tails from unraveling.
Preschool Size Crochet Cardigan
Uses approx 500 yards of #4 yarn. Size 3/5 Measures approximately 16”L x 25” around with 10.5” sleeve
Front right panel
Row 1: Foundation SC 48 (48) turn
Row 2: Ch 2, DC across (48) turn
Row 3: Ch 1, SC across (48) turn
Row 4 – 10: Repeat rows 2 & 3 (48) *ending with DC row
Arm Hole Row – Row 11: Ch 1, SC in 32 stitches, ch 16 skip remaining stitches. Join to corner of ch-2 from row 10. (48, including chains)
You will now be working the back panel and slip stitching to the front panel to close the shoulder up as you work each row.
Back Panel
Sl St again in the ch-2 space from row 10. This will count as ch 2 for row 12. Turn.
Row 12: DC in 16 chains and across (48) turn
Row 13: Ch 1, SC across. (48) join to the side of the SC from row 9 of the front panel, pull Sl St tight. Sl St to the ch-2 of next row of front panel. Sl St again in the ch-2 space. This will count as ch 2. (3 Sl St total) Turn your work.


Row 14: DC across. (48) turn
Row 15 – 21: repeat rows 13 & 14
Join after row 21 to last row’s sc of the front panel (the foundation row) turn
Row 22: Ch 2, DC across (48) turn
Preschool Size Continued…
Row 23: Ch 1, SC across (48) turn
Row 24 – 36: repeat rows 22 & 23. Ending with DC row
Arm Hole Row – Row 37: Ch 1, SC in 32 stitches, ch 16, skip remaining stitches. Join to corner of ch-2 from row 36. (48, including chains)
You will now be working the other front panel and slip stitching to the back panel to close the shoulder up as you work each row.
Front Left Panel
Sl st again in the ch-2 space from row 36. This will count as ch 2 for row 38. Turn.
Row 38: DC in 16 chains and across (48) turn
Row 39: Ch 1, SC across (48) join to the side of the SC from row 35 of the back panel, pull Sl St tight. Sl St to the ch-2 of next row of back panel. Sl St again in the ch-2 space. (3 Sl St total) This will count as ch 2. Turn your work.
Row 40: DC across (48) turn
Row 41 – 47: Repeat rows 39 & 40 ending with SC row and 1 Sl St to side of SC to join shoulder. There will be 5 rows at the neck that will be left “open”. Finish off
Neck/Front Border
Join to the inside corner of the right front panel. Band is made in horizontal rows and joined the stitches of the front and back panels to continue the no sew of the pattern.
Chain 11
Row 1: HDC in each chain across (10) join to next st of row 47, pull Sl St tight. Sl St in next 2 stitches, counts as chain for beginning of next row. (3 Sl St total) turn

Row 2: HDC in BLO of 9 st, hdc in both loops of last st (10) turn
Row 3: Ch 1, HDC in BLO across (10) join to next st, pull tight. Sl St in next 2 stitches, counts as chain for beginning of next row. (3 Sl St total) turn
Repeat rows 2 & 3 up the front right panel, across the neck, and down the front left panel. Continue the same concept of joining the shoulder for attaching the border around the neck – Sl St 1 in SC rows and 2 in each ch-2 of DC rows.
Last row should end at the corner of front left panel. DO NOT FINISH OFF. Continue to bottom border. If for some reason yours ends on the inside of the border, finish off and attach to the corner of the front left panel.
Bottom Border
Ch 1 and turn to work across the bottom border.
Row 1: Ch 1, SC across the front border, SC across bottom placing 2 SC across the DC rows, 1 SC at the end of SC rows, SC across the other front border. Finish off
Garment is now essentially reversible since every row has been back and forth. They look the same on either side. Choose the side of your liking before starting on the sleeves. You may notice that one side of the joins at the shoulders look “bumpy” from the slip stitches. I prefer to have those on the inside. Or you could keep it as a vest.
Sleeves
Join with slip stitch to bottom of sleeve hole.

Row 1: Ch 1, SC 32 times in arm hole, join (32)
Row 2: Ch 2, DC2TOG, DC in remaining st around, join (31)
Row 3: Ch 1, SC2TOG, SC in the remaining st around, join (30)
Row 4 – 9: repeat rows 2 & 3 (ending with 24 st at row 9)
Row 10: Ch 2, DC around, join (24)
Row 11 – 22: repeat rows 3 & 10. It will end on DC row with 18 stitches.
Row 23: Ch 1, SC around, join (18) Finish off. Weave in ends

- Find the Adult XS/S Women’s 0-6 Size here
- Find the Adult Medium/Large Women’s 8-12 Size here
- Find the Adult XL/2XL Women’s 14-20 Size here
- Purchase the Ad-Free, Printable PDF of the Adult sizes together from Ravelry here
- Find the Child Size Large 10/12 here
- Find the Child Small 6/8 size here
- Find the Toddler Size here
- Find the Baby Size here
- Also, find the full video tutorial of part 1 and part 2
Save for later or share with others using the share buttons at the top and bottom of post. If you have any questions please comment below or you can email me. I love to see photos of your work and read your comments. Follow Crochet It Creations on all of your favorite social media sites!
You may sell your items made from my patterns. Please do not use my photos as your own to sell your work. A link back to my site is much appreciated when selling your items from my patterns. I hope you enjoy!
This site is supported by advertisers and may contain affiliate links. See copyright & disclosure policy here for more information.

[…] was so pumped about that sweater that I started ANOTHER free blogger crochet pattern, Cameo Cardigan. So far I am loving it, too! It’s like all the good things about The Perfect Preschool […]