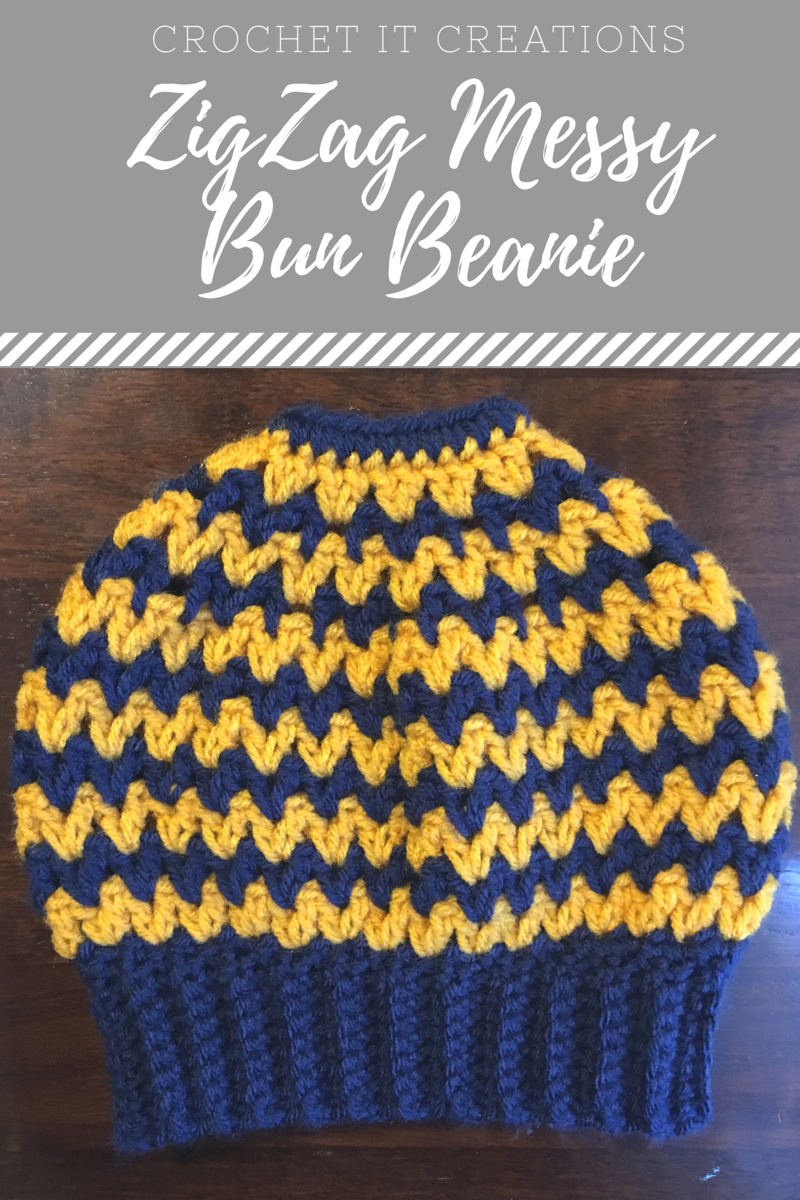
Messy bun beanies were all the rave last year and most hookers couldn’t get them off their hook fast enough! This ZigZag version is perfect for your favorite team or school colors! It would be great for tail gating or cheering on your favorite team.
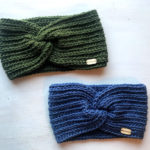
The ZigZag Messy Bun Beanie works from the brim up using an H crochet hook. The top is open and optional to use an elastic hair band to give stretch. Perfect for a pony tail or messy bun to stick out. It could also me made solid or with your favorite fashionable colors!
Materials needed
- Medium weight #4 yarn (these were made with I Love This Yarn)
- Size H crochet hook … Clover Amour are my favorite. Find them here
- Elastic hair band
- Scissors
- Yarn needle for sewing ends
Stitches Used/Abbreviations (US Terms)
- sc – single crochet
- dc – double crochet
- V stitch – 2 double crochet stitches placed in the middle between 2 double crochet stitches
- BLO – Back Bloop Only
- Jon – Slip Stitch to first stitch
Pattern Notes
- Beginning chain does count as a stitch, unless stated other wise.
CHILD SIZE (6-10 yrs)

Band:
Ch 9
Row 1: Sc in 2nd st from Hook and each st across (8)
Row 2 – 50: ch 1 and turn, sc in BLO across (8)
Fold band in half to bring row 1 up to row 50. Ch 1 and sl st across both rows to close into a circle. Turn band right side out.
Hat:
Rnd 1: ch 1 (does not count as stitch), sc 64 times evenly in end of rows around the band. Join (64)
Rnd 2: ch 3 (counts as first dc here and throughout) dc in same stitch. *skip 1 st, 2 dc in next st* repeat around. join to space between ch 3 and dc. (64)

Rnd 3 – 8: ch 3, dc in same space as join *skip 2 st, 2 dc in next space between previous rows dc (this will make a V)* repeat around. Join to space between ch 3 and DC. (64)
Rnd 9: ch 3, dc in same space as join *1 dc in next V space between the 2 dc, 1 dc between next V space (this creates a decrease), 2 dc in next V space* repeat around. You will not end in perfect sequence. Join between ch 3 and dc. (42)
Rnd 10: ch 3, dc in same space as join *2DC between next 2 dc (this will be between the 2 decrease dc), 2 dc in next V space* repeat around. join between ch 3 and dc (42)
Rnd 11: ch 3, dc in same space as join *1 dc in next V space between the 2 dc, 1 dc between next V space (this creates a decrease), 2 dc in next V space * repeat around. Join between ch 2 and dc. (28)
Rnd 12: ch 3, dc in same space as join *2 Dc between next 2 dc (this will be between the 2 decrease dc), 2 dc in next V space** repeat around. join between ch 2 and dc (28)
Rnd 13: ch 1, holding elastic band up to last round sc through first dc and around elastic band. Sc in each dc with elastic band around (28) Join. finish off and weave in ends
**if you do not want to use an elastic band then you can sc in each stitch and not sc around the band. I just prefer the stretch that the band gives.
This pattern would be beautiful in solid, variegated, or alternating colors. In the photo above I changed colors on round 2 and alternated every other row. I did not tie off each time, I just simply dropped the yarn from the previous round when starting a new one.

Here is a photo of the inside of the hat where you can see the yarn dropped for each row.
ADULT/TEEN SIZE

Band:
Ch 9
Row 1: Sc in 2nd st from Hook and each st across (8)
Row 2 – 60: ch 1 and turn, sc in BLO across (8)
Fold band in half to bring row 1 up to row 60. Ch 1 and sl st across both rows to close into a circle. Turn band right side out.
Hat:
Rnd 1: ch 1 (does not count as stitch), sc 72 times evenly in end of rows around the band. Join (64)
Rnd 2: ch 3 (counts as first dc here and throughout) dc in same stitch. *skip 1 st, 2 dc in next st* repeat around. join to space between ch 3 and dc. (72)
Rnd 3 – 9: ch 3, dc in same space as join *skip 2 st, 2 dc in next space between previous rows dc (this will make a V)* repeat around. Join to space between ch 3 and DC. (72)
Rnd 10: ch 3, dc in same space as join *1 dc in next V space between the 2 dc, 1 dc between next V space (this creates a decrease), 2 dc in next V space * repeat around. You will not end in perfect sequence. Join between ch 3 and dc. (48)
Rnd 11: ch 3, dc in same space as join *2DC between next 2 dc (this will be between the 2 decrease dc), 2 dc in next V space* repeat around. join between ch 3 and dc (48)
Rnd 12: ch 3, dc in same space as join *1 dc in next V space between the 2 dc, 1 dc between next V space (this creates a decrease), 2 dc in next V space * repeat around. Join between ch 2 and dc. (32)
Rnd 13: ch 3, dc in same space as join *2 Dc between next 2 dc (this will be between the 2 decrease dc), 2 dc in next V space** repeat around. join between ch 2 and dc (32)
Rnd 14: ch 1, holding elastic band up to last round sc through first dc and around elastic band. Sc in each dc with elastic band around (32) Join. finish off and weave in ends
**if you do not want to use an elastic band then you can sc in each stitch and not sc around the band. I just prefer the stretch that the band gives.
Save for later or share with others using the share buttons at the top and bottom of post. Most of my patterns are not tested. I simply write up how I make items. If you have any questions please comment below or you can email me. If you do not crochet but would like to order, I take custom orders off of my facebook page. Follow Crochet It Creations on all of your favorite social media sites.
You may sell your items made from my patterns. Please do not use my photos as your own to sell your work. A link back to my site is much appreciated when selling your items from my patterns. I hope you enjoy!
This pattern is also available on Ravelry as a PDF download for a small fee. Don’t forget to pin for later!
This pattern can also be made in any other size. This is the go to chart that I use when making hats for all ages. Even if I use someone else’s pattern I always check hat measurements with this chart.