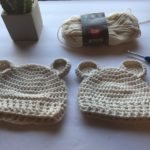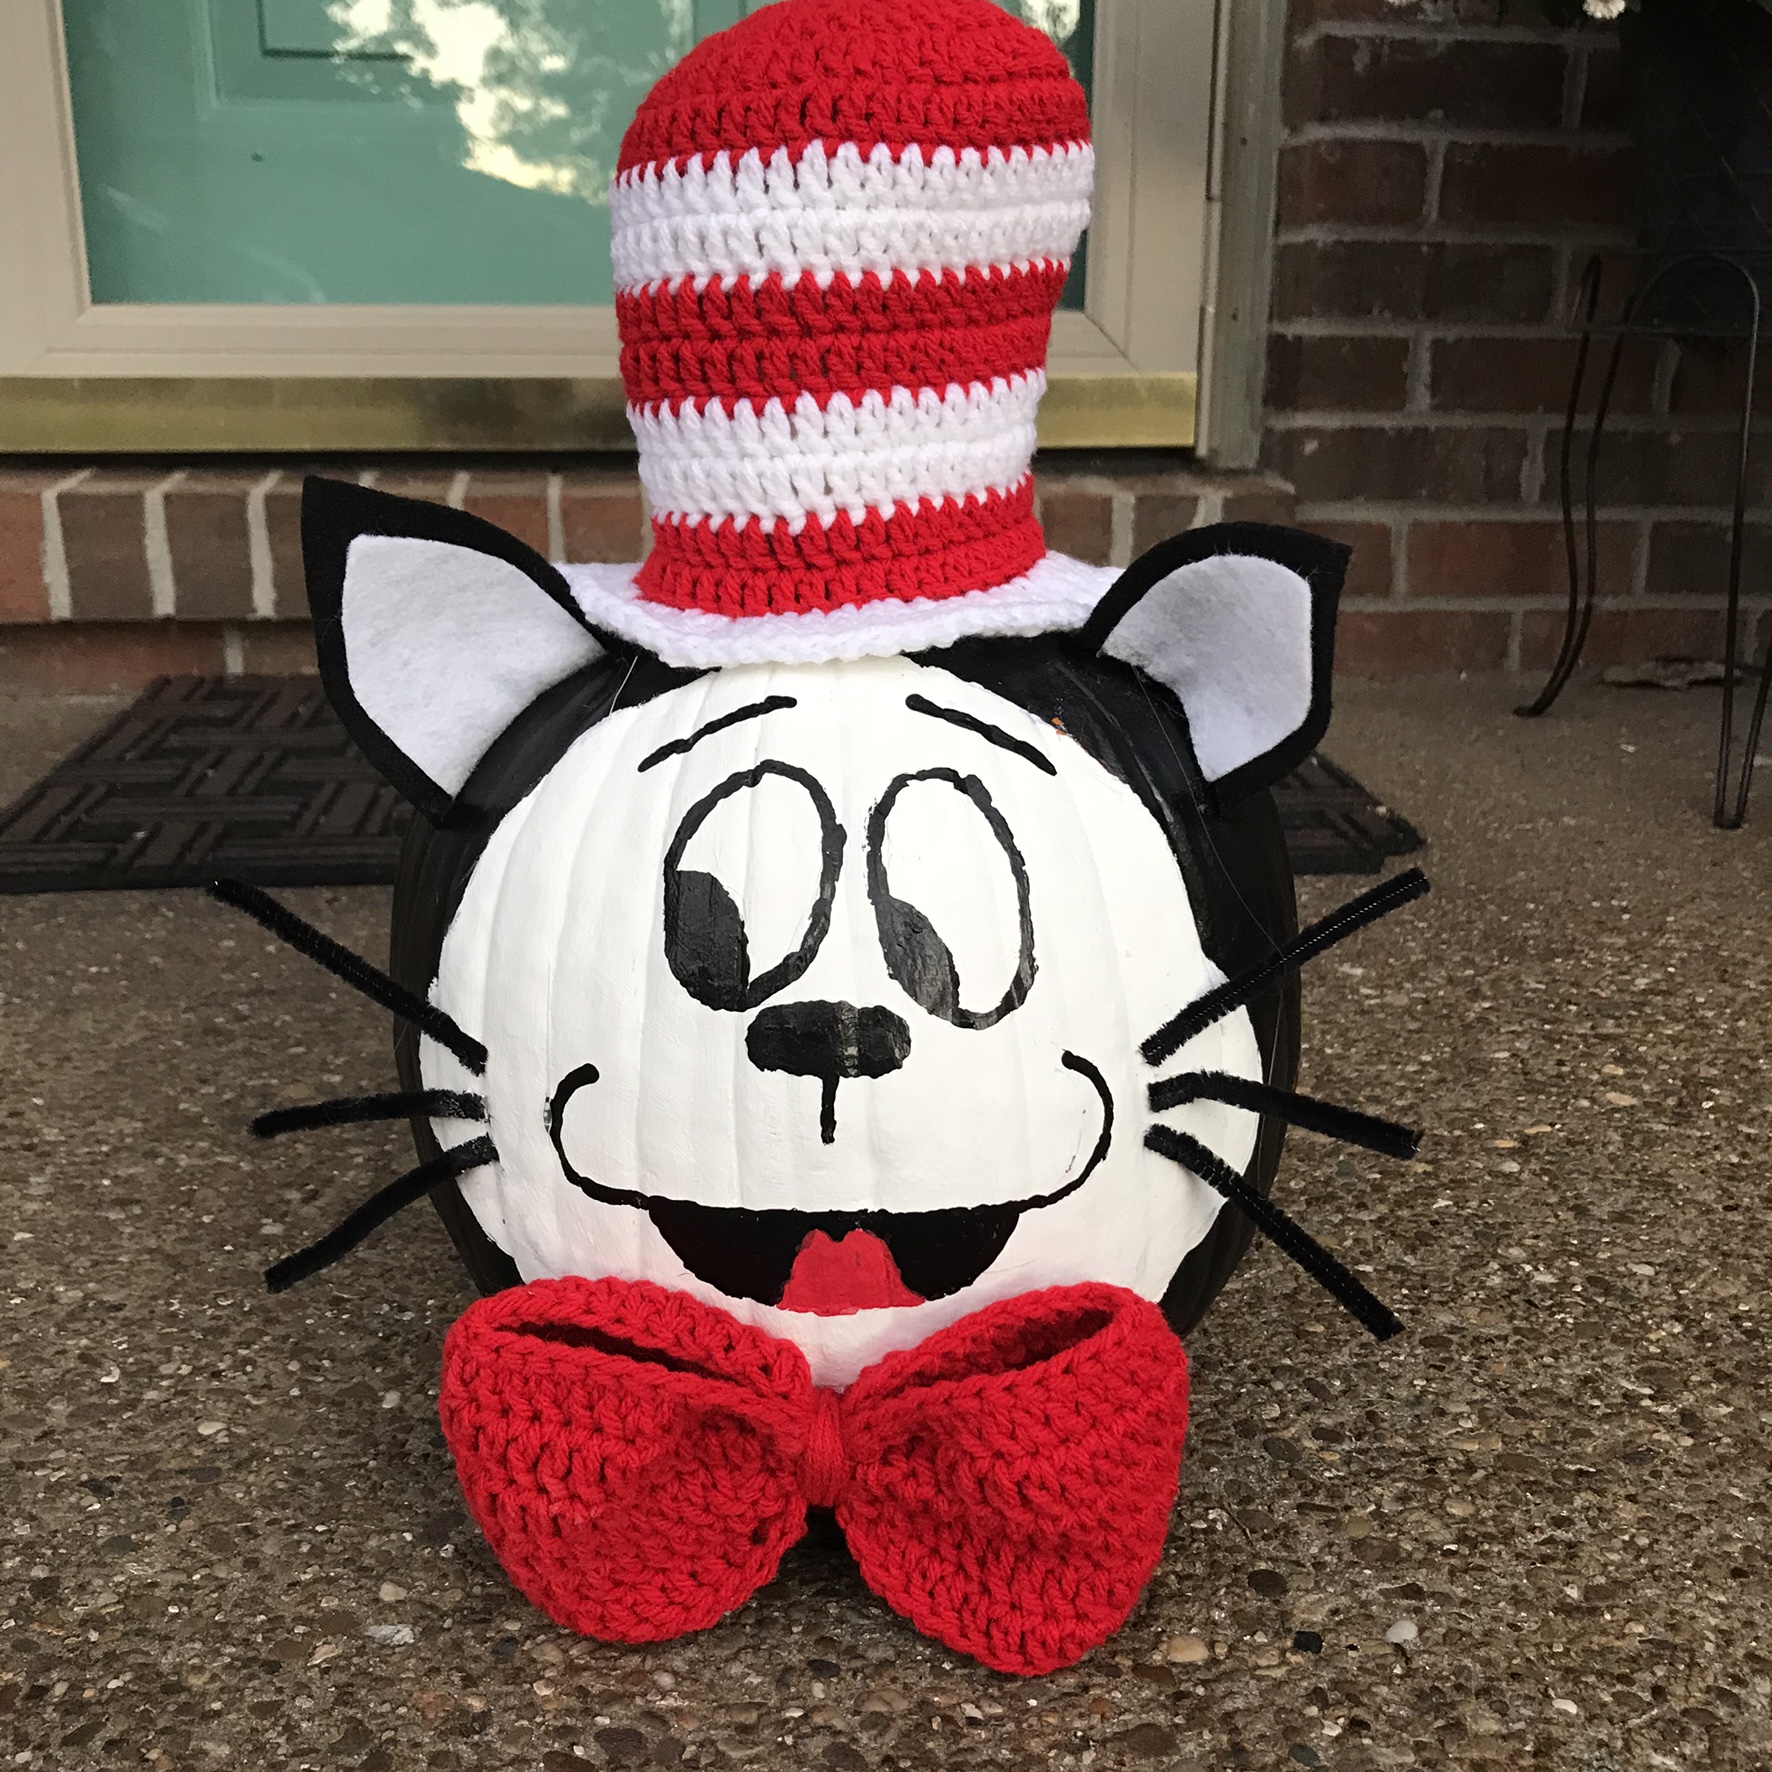
Have you been looking for a book character to make for a school project? My daughter’s school gave out assignments to decorate a pumpkin like a book character. Being the crafter that I am, I knew that crochet had to be incorporated in this project.
My daughter decided to use one of her favorite books, The Cat In The Hat by Dr. Suess! We are BIG Dr. Suess fans in this house. Of course a crochet top hat and bow tie were needed to complete the ensemble. I decided to write the pattern up to share with you all! So you too can have a cute little character pumpkin.
We first painted the pumpkin, then added all the extra cuteness. Stay tuned to see how we painted the pumpkin!

Materials Needed
- H 5.0mm Crochet Hook
- Medium #4 Yarn Optional for 2 colors
- Scissors
- Tapestry Needle
- Poly-Fil to stuff hat
Gauge
- 1” Square = 4DC x 2 Rows
Stitches Used/Abbreviations (US Terms)
- DC – Double Crochet
- DC2TOG – Decrease Double Crochet
- FLO – Front Loop Only
- Foundation Row (see HERE how to make)
Pattern Notes
- Hat was made for a decorating a pumpkin but can be used in many situations
- Optional to use 2 different colors for the hat or bow tie
- Beginning chain DOES NOT count as a stitch
- Hat measures 6″ height and about 4.5″ width
- Bow Tie measures 4″ height and 6″ wide
Top Hat
Rnd 1: in magic ring, ch 2 and DC 12 times. join (12)
Rnd 2: ch 2, 2DC in each st around. join (24)
Rnd 3: ch 2, *DC in 1 st, 2DC in next* repeat around. join (36)
Rnd 4: ch 2, *DC in 2 st, 2DC in next* repeat around. join (48)
Rnd 5: ch 2, DC in each st around. join (48)
*optional to switch colors here and every 2 rounds*
Rnd 6: ch 2, DC2TOG, DC in remaining st around. join (47)
Rnd 7-13: ch 2, DC2TOG, DC in remaining st around. join (46, ending with 40 st)
Rnd 14: ch 2, IN FLO – *DC in 1 st, 2DC in next* repeat around. Join (60)
Rnd 15: ch 2, *DC in 2 st, 2DC in next* repeat around. Join (80)
Finish off and Weave in end. Lightly stuff with Poly-Fil and attach to whatever you are making by sewing on or hot gluing.
Bow Tie
Rnd 1: Foundation crochet 40 DC. join. (40) see post HERE for making foundation rows.
Rnd 2 – 6: ch 2, DC in each stitch around. join (40)
Finish off leaving a long tail for bunching together. Use beginning tail and close foundation row. Take long tail and attach tapestry needle. Find the vertical center of the bow. Weave in and out of the rows. Pull tight to bunch together in the center. Wrap yarn around many times. Use needle and weave in and out the back to secure tail. Attach to pumpkin or whatever by sewing or hot gluing.
Save for later or share with others using the share buttons at the top and bottom of post. If you have any questions please comment below or you can email me at jessica@crochetitcreations.com.
I love to see photos of your work and read your comments. Follow Crochet It Creations on all of your favorite social media sites! Join my Crochet It Creations Crochet Friends Facebook group to further connect!
You may sell your items made from my patterns. Please do not use my photos as your own to sell your work. A link back to my site is much appreciated when selling your items from my patterns. I hope you enjoy!
This site is supported by advertisers and may contain affiliate links. See copyright & disclosure policy here for more information.