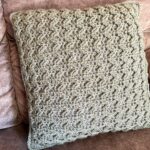
Did you work my Textured Fun Square Sampler Blanket from 2019? Well if you did, these stitches on the Post Stitch Throw Pillow below may look familiar to you!

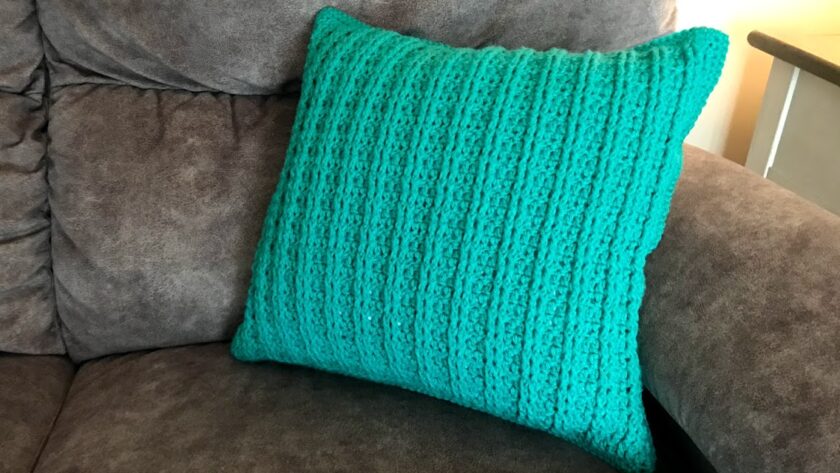
See the other pillows below
- Post Stitch Throw Pillow
- Waffle Stitch Throw Pillow
- Braided Cable Throw Pillow
- Basket Weave Throw Pillow
- Zig Zag Throw Pillow
The Textured Fun Blanket was a Crochet Along that had 6 different squares with different crochet stitches. Well I decided to turn the blanket in to matching throw pillows! And this is the first pillow below.
I used Big Twist Yarn in the photos but most Worsted Weight yarns will do. Just be sure to check a gauge swatch first. It is made for 18″ pillow insert that can be found at your local Walmart or Craft Store.

Materials Needed
- I 5.5mm Crochet Hook, or size needed to obtain gauge
- 500 yds Medium #4 weight yarn, Big Twist Value Yarn (100% acrylic, 6oz/170g, 371yds/339m)
- 18” Pillow Insert – Machine Washable is Recommended
- Scissors
- Tapestry Needle
- Optional: 4 -5 Stitch Markers
Gauge
- 4” square = 7.25 Rows x 12.5 DC
Stitches Used/Abbreviations (US Terms)
- Sl St – Slip Stitch
- SC – Single Crochet
- DC – Double Crochet
- FDC – Foundation Double Crochet
- CSDC – Chainless Starting Double Crochet
- FPDC – Front Post Double Crochet
- BPDC – Back Post Double Crochet
- Ch – Chain
- Join – Slip Stitch to first stitch
- RS – Right Side
- WS – Wrong Side
- St(s) – Stitch(es)
- Sk – Skip
Pattern Notes
- Each Square Pattern is for an 18” square pillow insert, however each square will measure approximately 15” and will stretch to fit.
- Beginning stitch is made with a chainless starting double crochet (CSDC). This technique eliminates any chaining at the beginning of the row and looks just like a regular double crochet. If you prefer, you may replace it with a chain 3 to count as the first stitch.
Post Stitch Throw Pillow Crochet Pattern

Row 1 (WS): FDC 54, turn. OR Ch 56, DC in 2nd ch from hook and each ch across, turn. (54)
Row 2 (RS): CSDC, DC in st, [FPDC in 2 sts, DC in next 2 sts] repeat across, turn. (54)
Row 3 (WS): CSDC, DC in st, [BPDC in 2 sts, DC in next 2 sts] repeat across, turn. (54)
Rows 4 – 30: Repeat rows 2 & 3. Ending on a row 2 repeat.
Ch 1, SC around the entire parameter with placing 2 SC in the corners, join. Fasten off. Make 2 panels.
With wrong sides facing each other and join with Sl St through both panels. Ch 1, SC around both layers, placing 2 SC in each corner. When 3 sides are completed, insert pillow, SC along the forth side, join. Fasten off, weave in ends.
Up close of post stitches

See video HERE to make the Post Stitch
Photos of Putting the Pillow Together
Photo 1: Place WS of Panels together. Join w/ Sl St and SC around working through both panels.
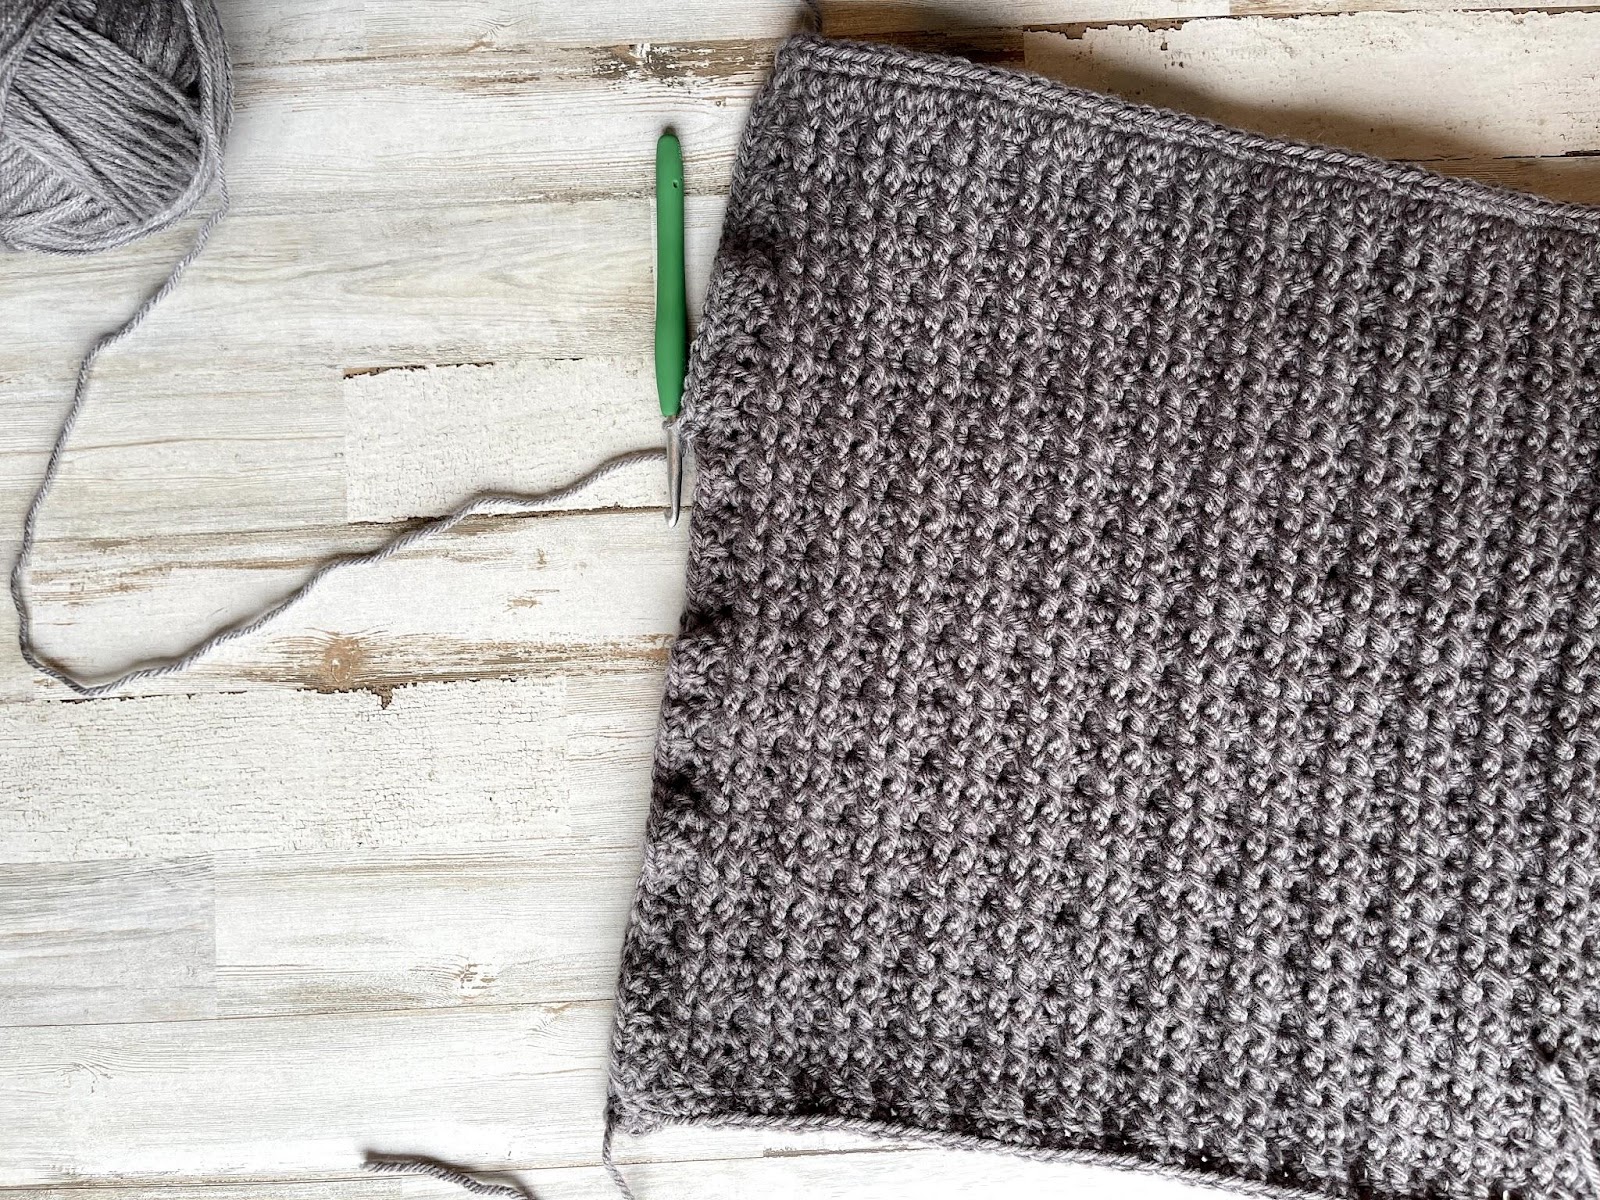
Photo 2: Work SC around completing 3 sides.
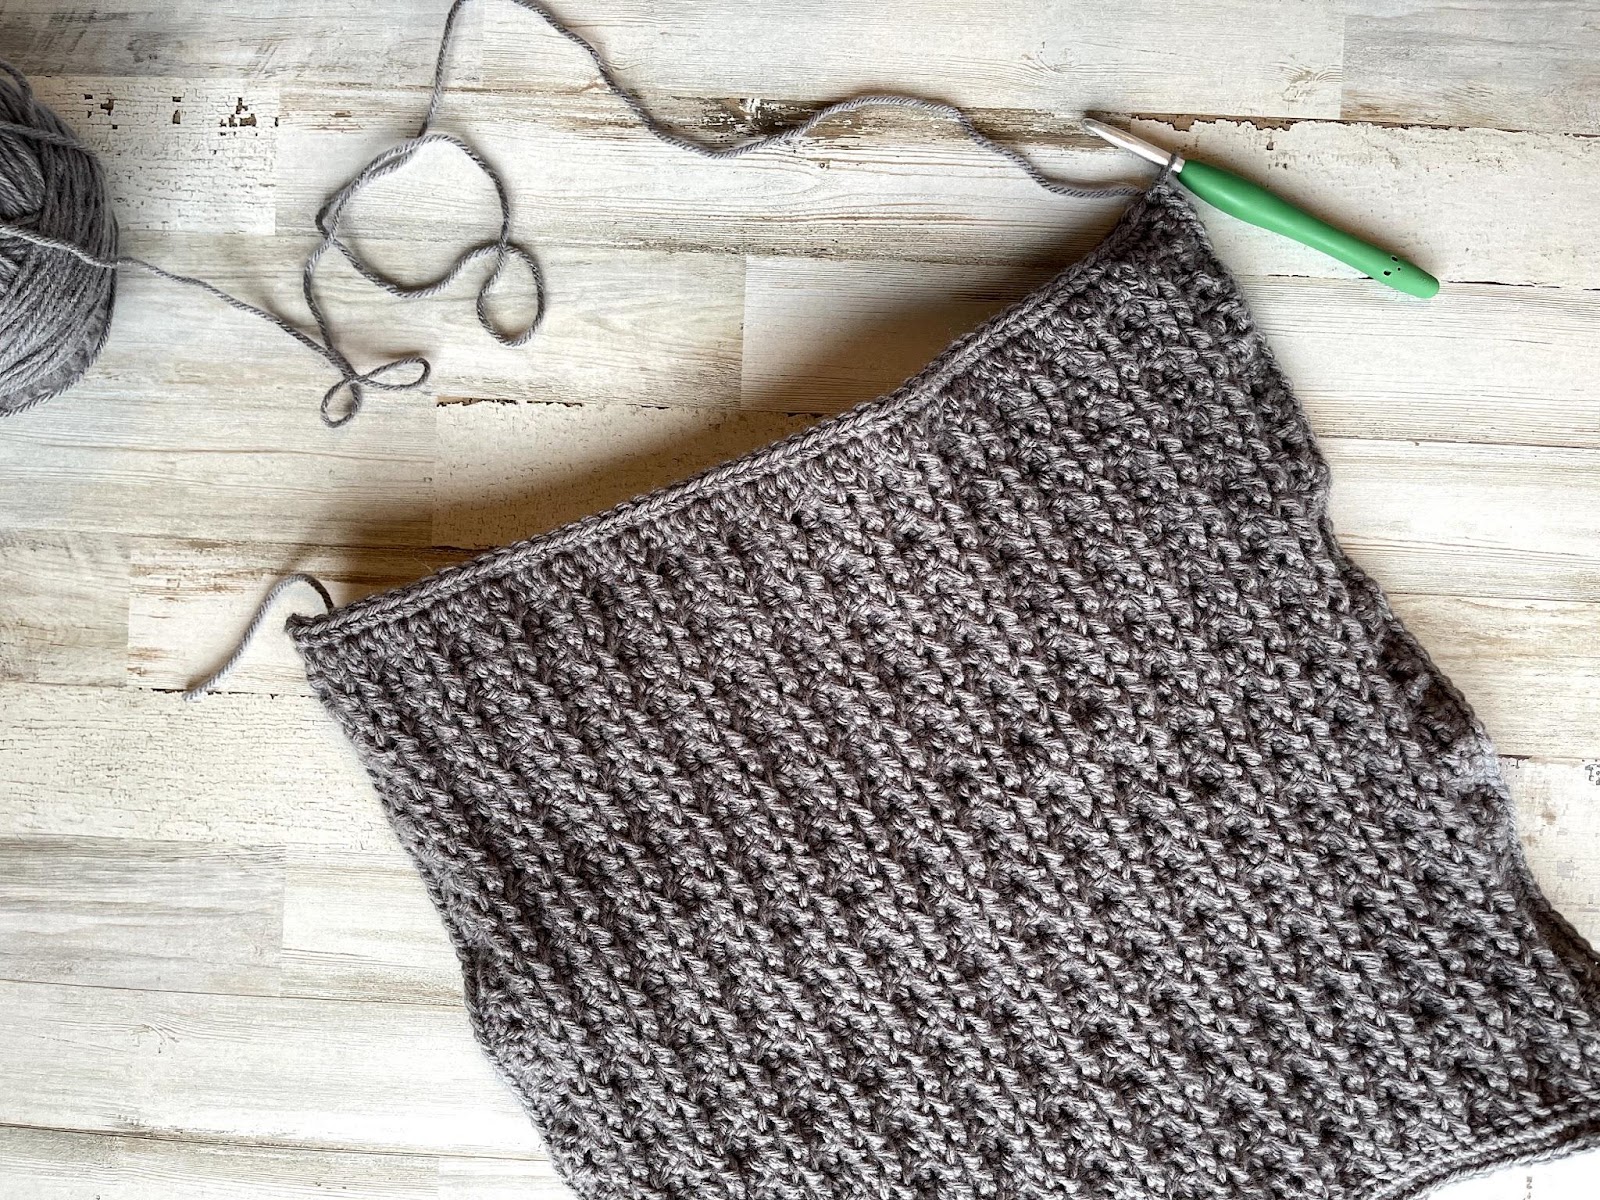
Photo 3: Insert Pillow and Close the last side.

Photo 4: Use stitch markers to hold the panels together before closing. The panels will be snug around the pillow to prevent a lot of slack in the sides or corners.

Photo 5: Close the top by continuing to single crochet across.

Save for later or share with others using the share buttons at the top and bottom of post. If you have any questions please comment below or you can email me at jessica@crochetitcreations.com.
I love to see photos of your work and read your comments. Follow Crochet It Creations on all of your favorite social media sites! Join my Crochet It Creations Crochet Friends Facebook group to further connect!
You may sell your items made from my patterns. Please do not use my photos as your own to sell your work. A link back to my site is much appreciated when selling your items from my patterns. I hope you enjoy!
This site is supported by advertisers and may contain affiliate links. See copyright & disclosure policy here for more information.